Jeepin.com Forums  

Go Back   Jeepin.com Forums > Tech > Jeep Talk

Reply
 
Thread Tools Display Modes
Old 11-04-2017, 02:39 PM   #21
Sir Sam
Working Mother
 
Join Date: Mar 2004
Posts: 19,918
Send a message via AIM to Sir Sam
Default

old post quoted:

Quote:
Originally Posted by Sir Sam
Old part of engine mount bracket cut off, new piece of angle iron tacked on.


Tacked all the way around:


I may not be the best welder, but, well........I may not be the best welder.


Look ma, no hands!


Drivers side mount under compression:


So theres that, got the engine mounts done and the engine in place, I need to modify the transmount to bolt now, and then I will need to clearance the rear floor to get the transfer case in place.

Plenty of stuff to be done.
Sir Sam is offline   Reply With Quote
Old 11-04-2017, 02:39 PM   #22
Sir Sam
Working Mother
 
Join Date: Mar 2004
Posts: 19,918
Send a message via AIM to Sir Sam
Default

old post quoted:

Quote:
Originally Posted by Sir Sam
Worked on fitting the 2500 fenders and headlights:


Sir Sam is offline   Reply With Quote
Old 11-04-2017, 02:40 PM   #23
Sir Sam
Working Mother
 
Join Date: Mar 2004
Posts: 19,918
Send a message via AIM to Sir Sam
Default

Old post quoted:

Quote:
Originally Posted by Sir Sam
Quote:
Originally Posted by impeesia View Post
updates?
Well peese got me thinking today that maybe I should get back to work. So I started thinking about what I needed to do next which is to get the springs back under it so I can move on with fabbing up the tranny mount.

Well I got to thinking and decided that the D30 is just too weak of an axle to put under the front end with 30.5" tires, so I decided to put a JK Dana 44 front under it. Quick search of craigslist and I went and picked up the cheapest one I could find at $300.

Its missing the passenger side knuckle and the brakes, I will either replace everything thats missing and go back to JK specs, replace just the pass high steer knuckle and try to use D30 unit bearings, or put on WJ high steer knuckles and brakes(cheapest option thus far and keeps the 5x4.5 pattern)

And now I will probably get a 8.8 with 4.10s and LSD for the rear, which is my ideal setup, selectable locker in the front, LSD in the rear. I'll top it off with a TJ locker switch and have everything nice and factory like I like.


Sir Sam is offline   Reply With Quote
Old 11-04-2017, 02:41 PM   #24
Sir Sam
Working Mother
 
Join Date: Mar 2004
Posts: 19,918
Send a message via AIM to Sir Sam
Default

old post quoted:

Quote:
Originally Posted by Sir Sam
Quote:
Originally Posted by MBood82 View Post
It's been over a year, what's the status?
So I picked this up for my MJ CRD project, I need it for a few different things, but since I had it out I decided to take the whole shebang apart! While I was at it I decided to bust out the macro, never really played with it before but I liked the results.


This is the keyless module, it plugs into the side of the BCM, and can be removed pretty easily.


This is the BCM its self, it is held on by 4 screws onto the fuse box/junction block.


This is the gut of the junction block, when you take out all the fuses, relays, etc, remove the plastic cover, this is what you are left with:


The BCM is needed as the VSS signal goes into the BCM, where the BCM is programmed to read the VSS and correlates the revs/mile to the speed. A couple of other things also got through the BCM including the SKIM info(which I won't be using).
Sir Sam is offline   Reply With Quote
Old 11-04-2017, 02:42 PM   #25
Sir Sam
Working Mother
 
Join Date: Mar 2004
Posts: 19,918
Send a message via AIM to Sir Sam
Default

old post quoted:

Quote:
Originally Posted by Sir Sam
This is the 96- steering column hole:


This the 97+ steering column hole, it needs to to cutout and moved obviously. Not exactly sure how I will go about that.


Here you can see that the newer C101 plug hole, what I will probably do it cutout the donor shape and then use the bolt holes in the older plug to hold the plate in place.


This is the older style steering column bracket, it will need to but cutout and the new one(below) welded in.


Here you can see the older style heater core hole is a little different, but it'll work.


Here you can see the upper dash bolt points are different, not sure what to do about those.


This is the older side mount bracket studs/bolt holes, the newer style is below, as you can see there are a fair amount of differences.


This is the older style door post latch, this is a little tricky but can be dealt with fairly easily.


And this is where I think I will mount the filter head:


I'm not sure why but I have a filter head with different banjo fittings on it, which won't work in my configuration, so the bent stockers are perfect.
Sir Sam is offline   Reply With Quote
Old 11-04-2017, 02:43 PM   #26
Sir Sam
Working Mother
 
Join Date: Mar 2004
Posts: 19,918
Send a message via AIM to Sir Sam
Default

old post quoted:

Quote:
Originally Posted by Sir Sam
Steering column/dash bracket cutoff:


Lets do this:


Passenger side bracket welded on(the thin stuff at the top was a *****)


I got the drivers side partially welded on then tossed the dash in place to make sure I had measured the right place to weld the brackets on. Looks good to me, dash sits in place like it should.
Sir Sam is offline   Reply With Quote
Old 11-04-2017, 02:43 PM   #27
Sir Sam
Working Mother
 
Join Date: Mar 2004
Posts: 19,918
Send a message via AIM to Sir Sam
Default

old post quoted:

Quote:
Originally Posted by Sir Sam
Got the steering column bracket in place, modded it to accept one of the existing studs and then welded one from the donor vehicle in place on the side.


Then I got the lower pivot hole welded in, cut off the factory nut from the donor then drilled a hole and welded the plate in. Still need to do the passenger side.


As you can see here two of the upper dash bolt holes don't line up, I think I'm going to weld a tab to the existing smaller lip and then drill a hole and move the threaded clip in place, then just use a large washer on the small bolt, this needs to be done on both sides.

Sir Sam is offline   Reply With Quote
Old 11-04-2017, 02:44 PM   #28
Sir Sam
Working Mother
 
Join Date: Mar 2004
Posts: 19,918
Send a message via AIM to Sir Sam
Default

old post quoted:

Quote:
Originally Posted by Sir Sam
Got a shell for the MJ, its a brahma which means its kinda cheap, maybe in the future if I find a nice leer that I like I will upgrade, but for now this is fine by me.


The holy grail of MJ 97+ door panels:


Scored a set of seats from a 2 door......the seats themselves are pretty much junk, but they have the tilt mechanisms which can be installed into just about every other jeep seat(could install them in heated leather seats for example).
Sir Sam is offline   Reply With Quote
Old 11-04-2017, 02:47 PM   #29
Sir Sam
Working Mother
 
Join Date: Mar 2004
Posts: 19,918
Send a message via AIM to Sir Sam
Default

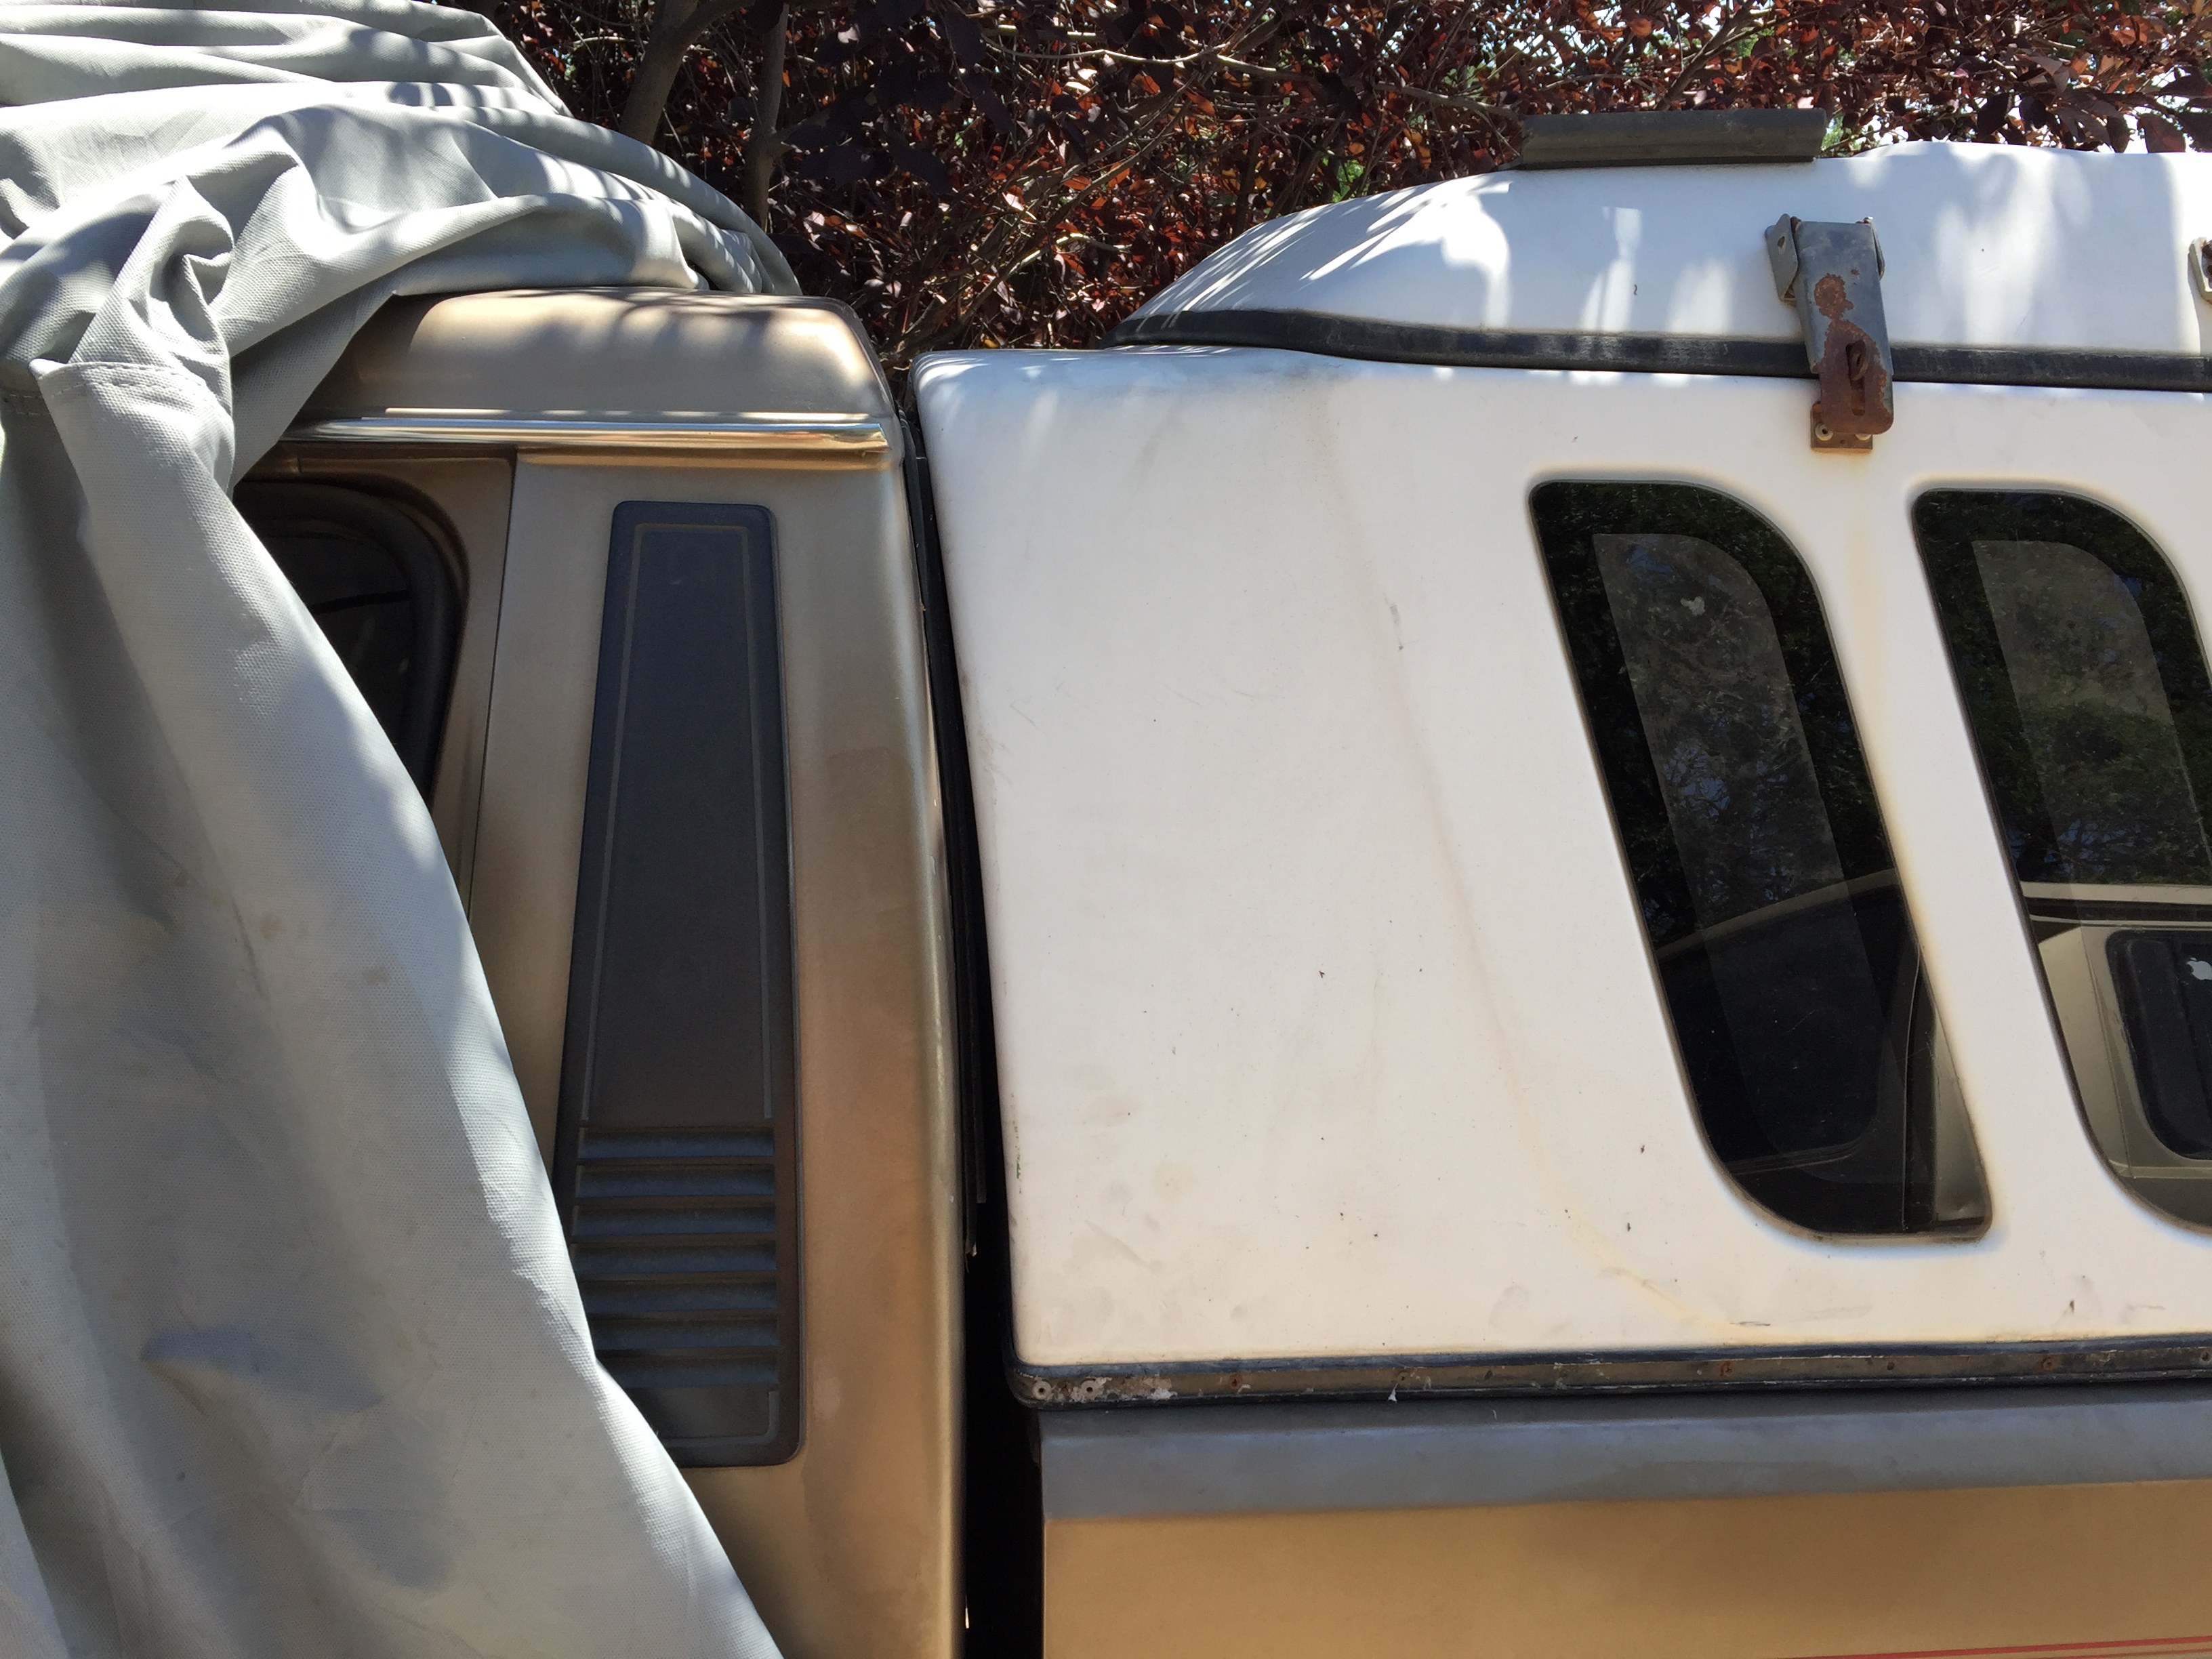
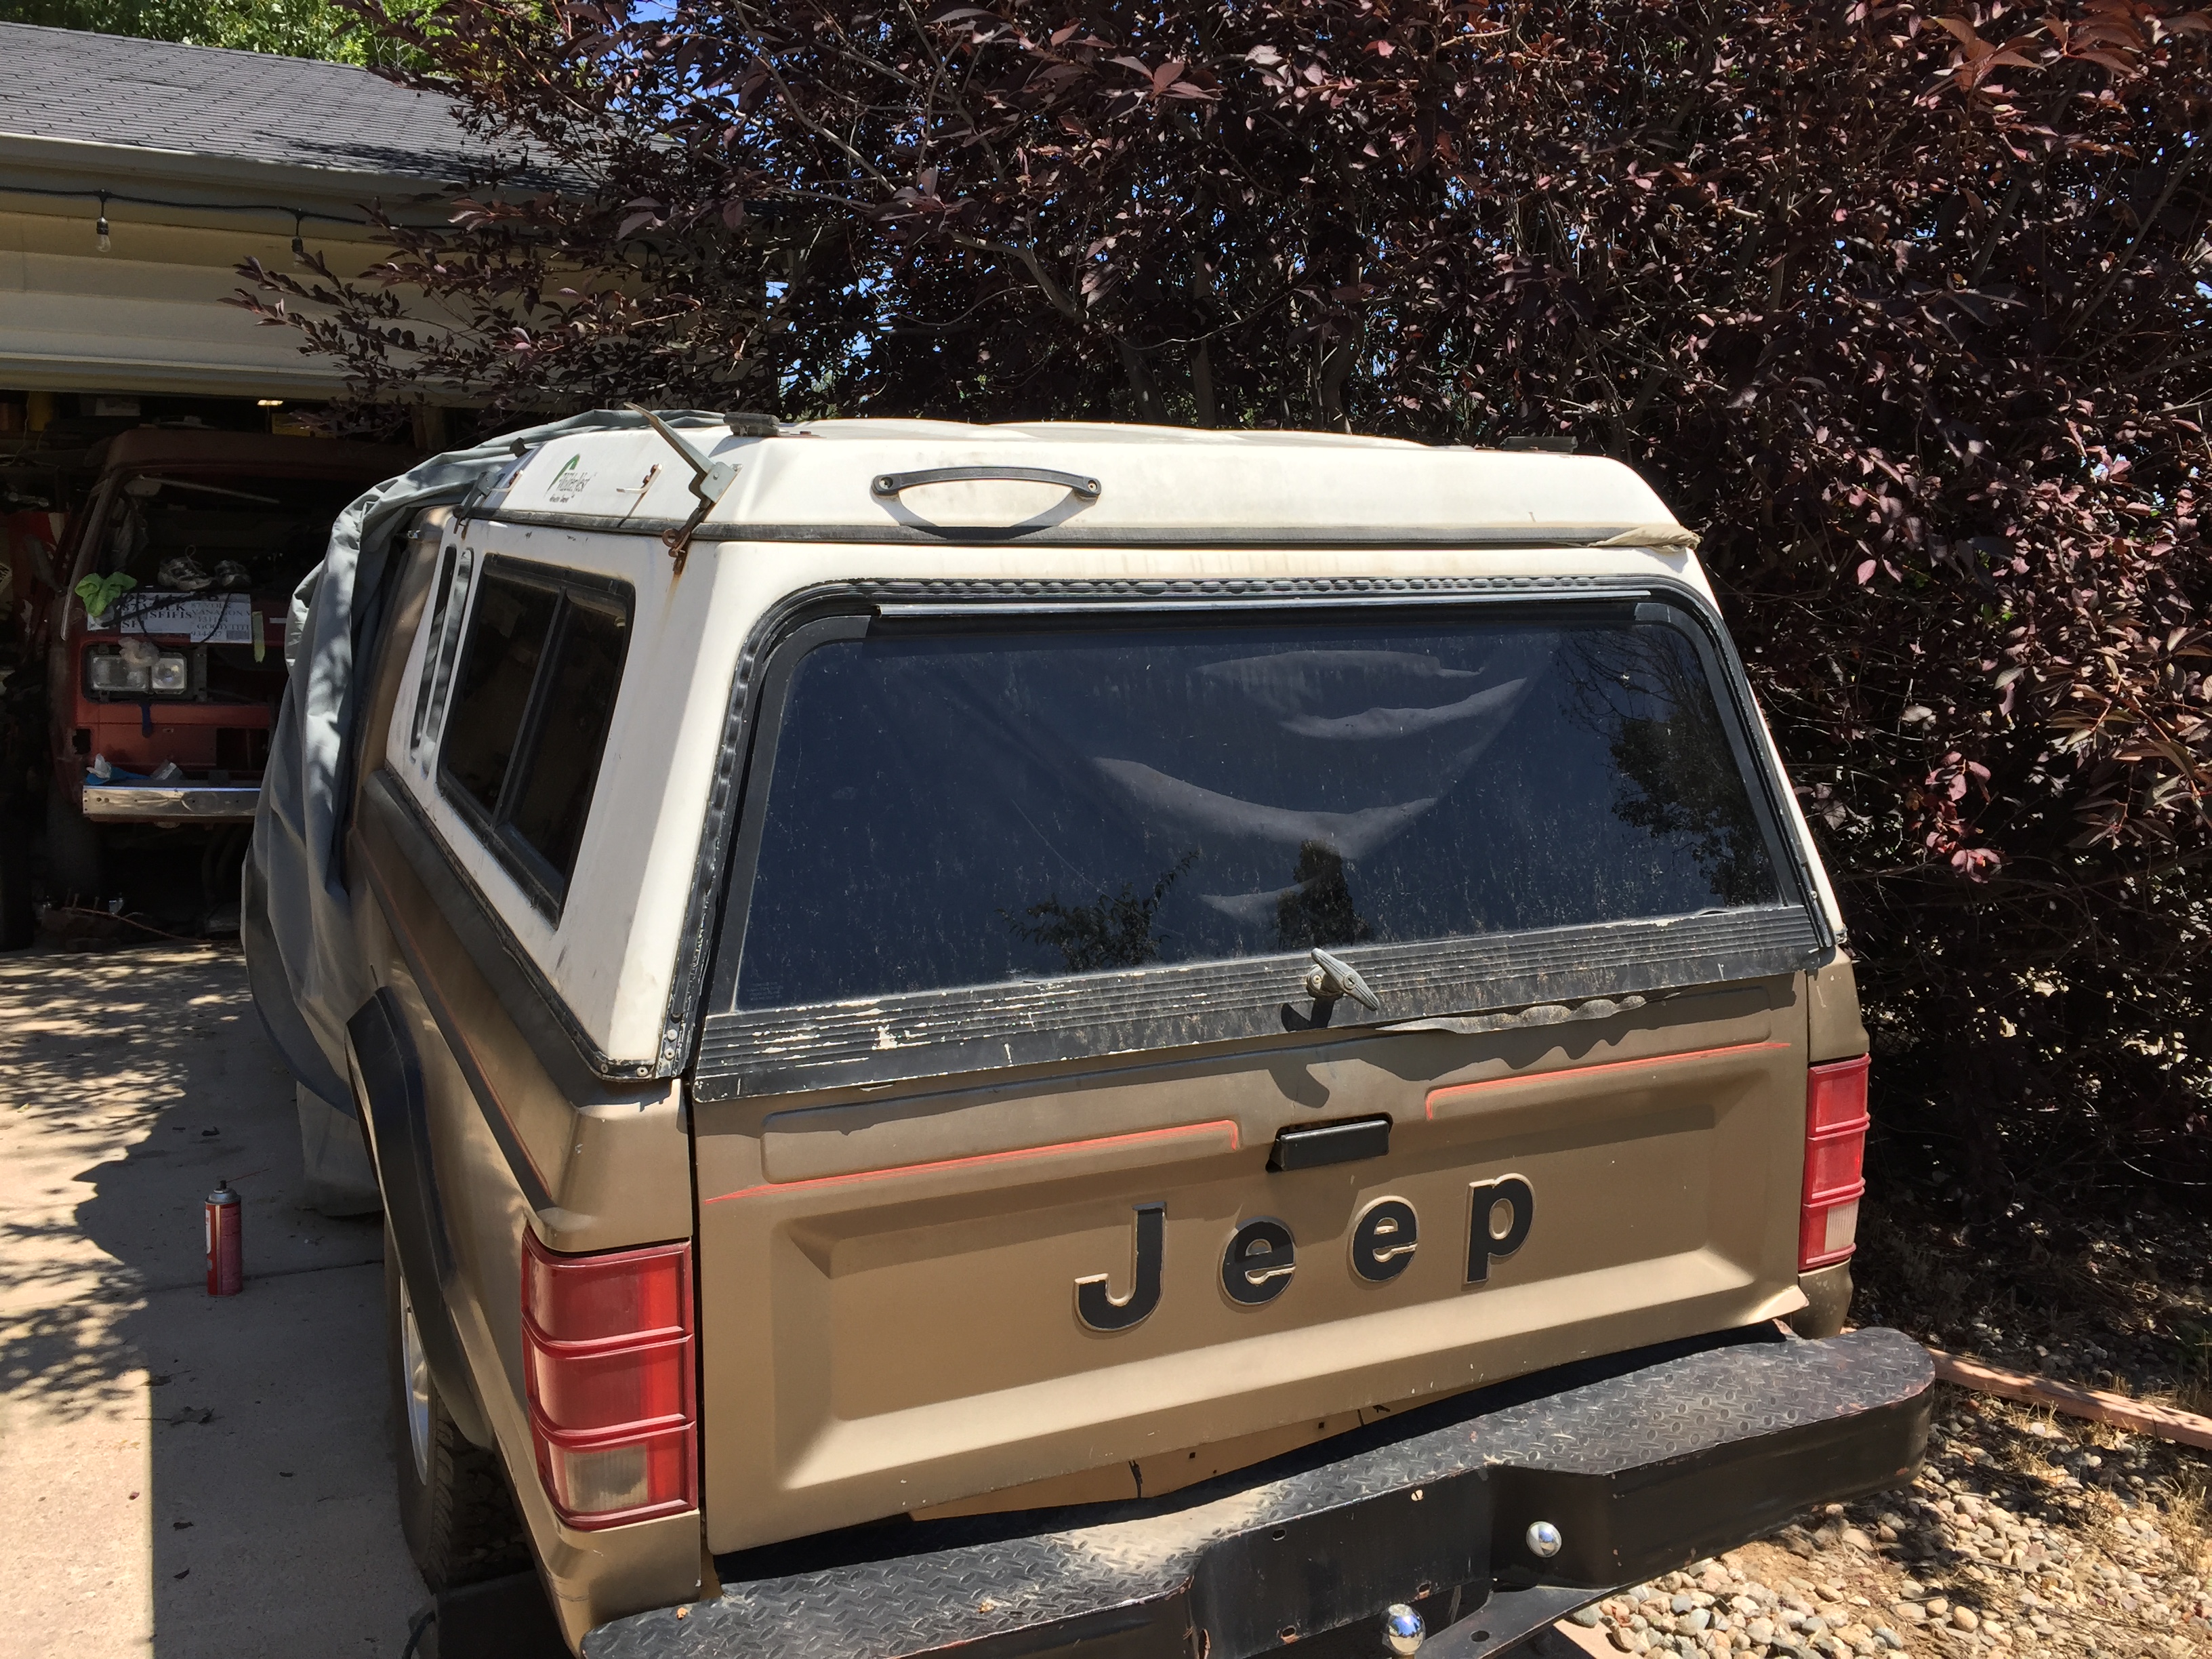
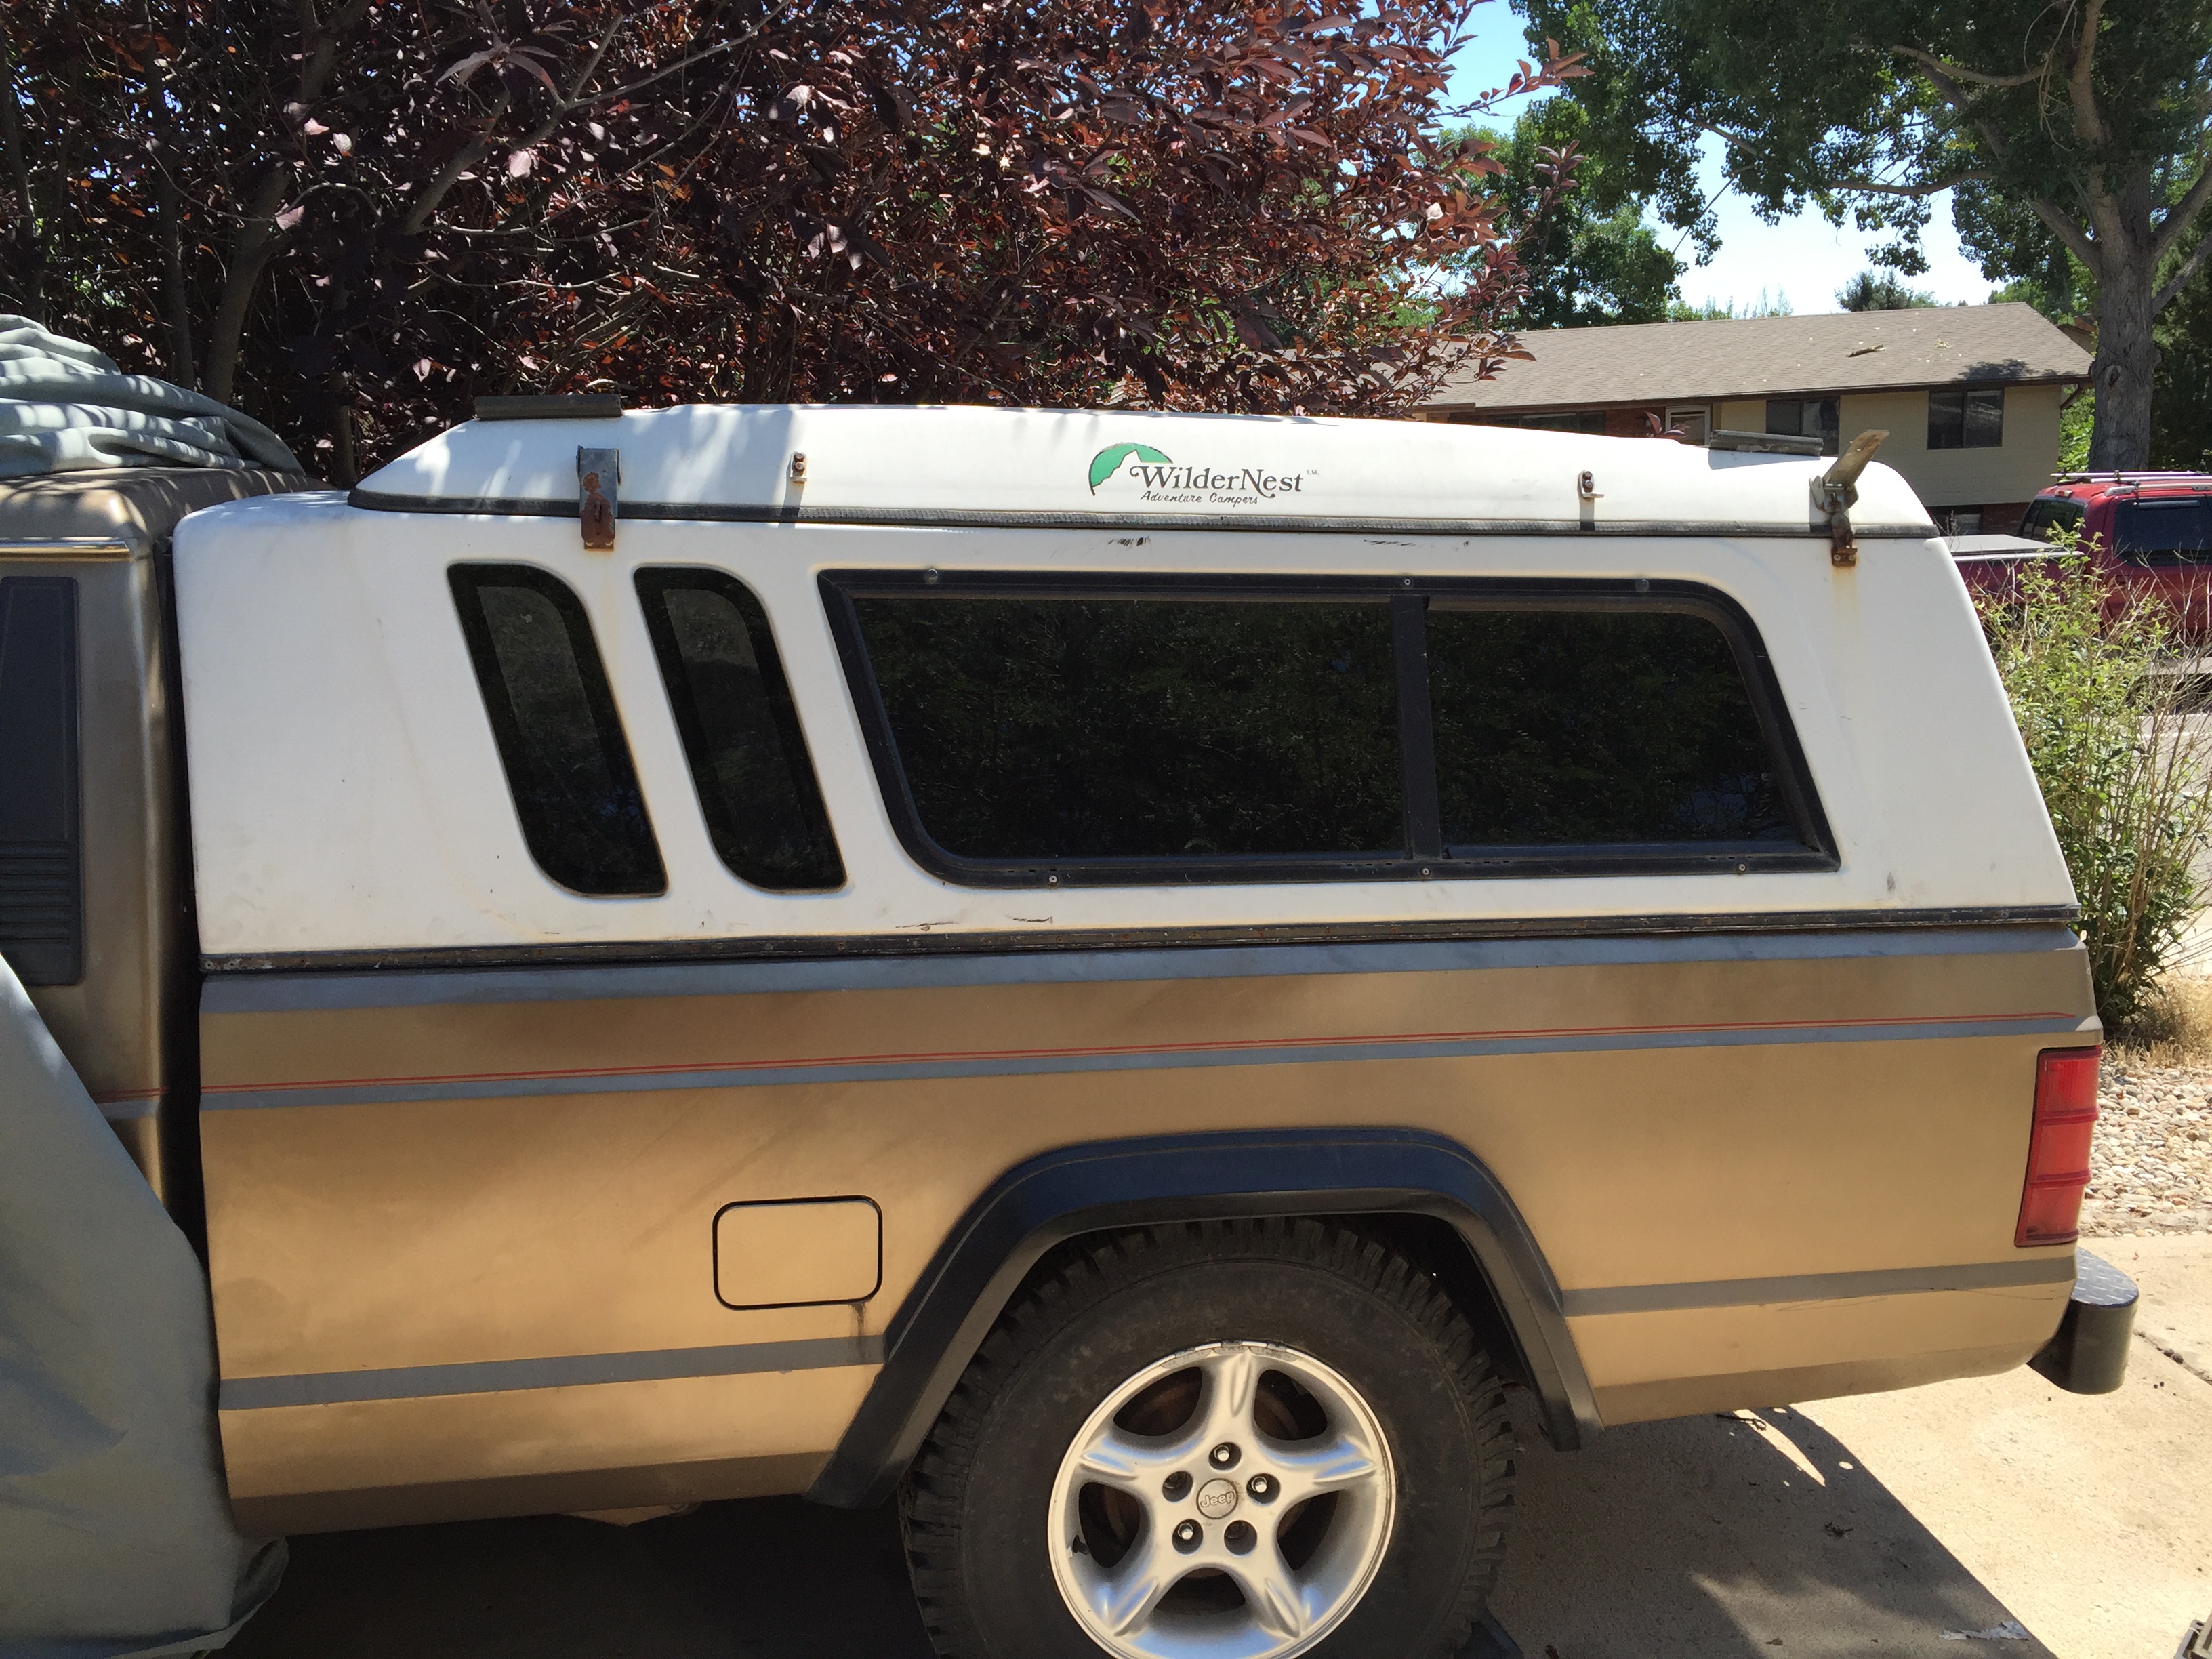
I got a wildernest topper last year in august of 2017. And then finally got rid of the other shell on CL. Turns out the old one fit a longbed toyota truck perfect.


Sir Sam is offline   Reply With Quote
Old 11-04-2017, 02:52 PM   #30
Sir Sam
Working Mother
 
Join Date: Mar 2004
Posts: 19,918
Send a message via AIM to Sir Sam
Default

New as of 3-NOV-2017:

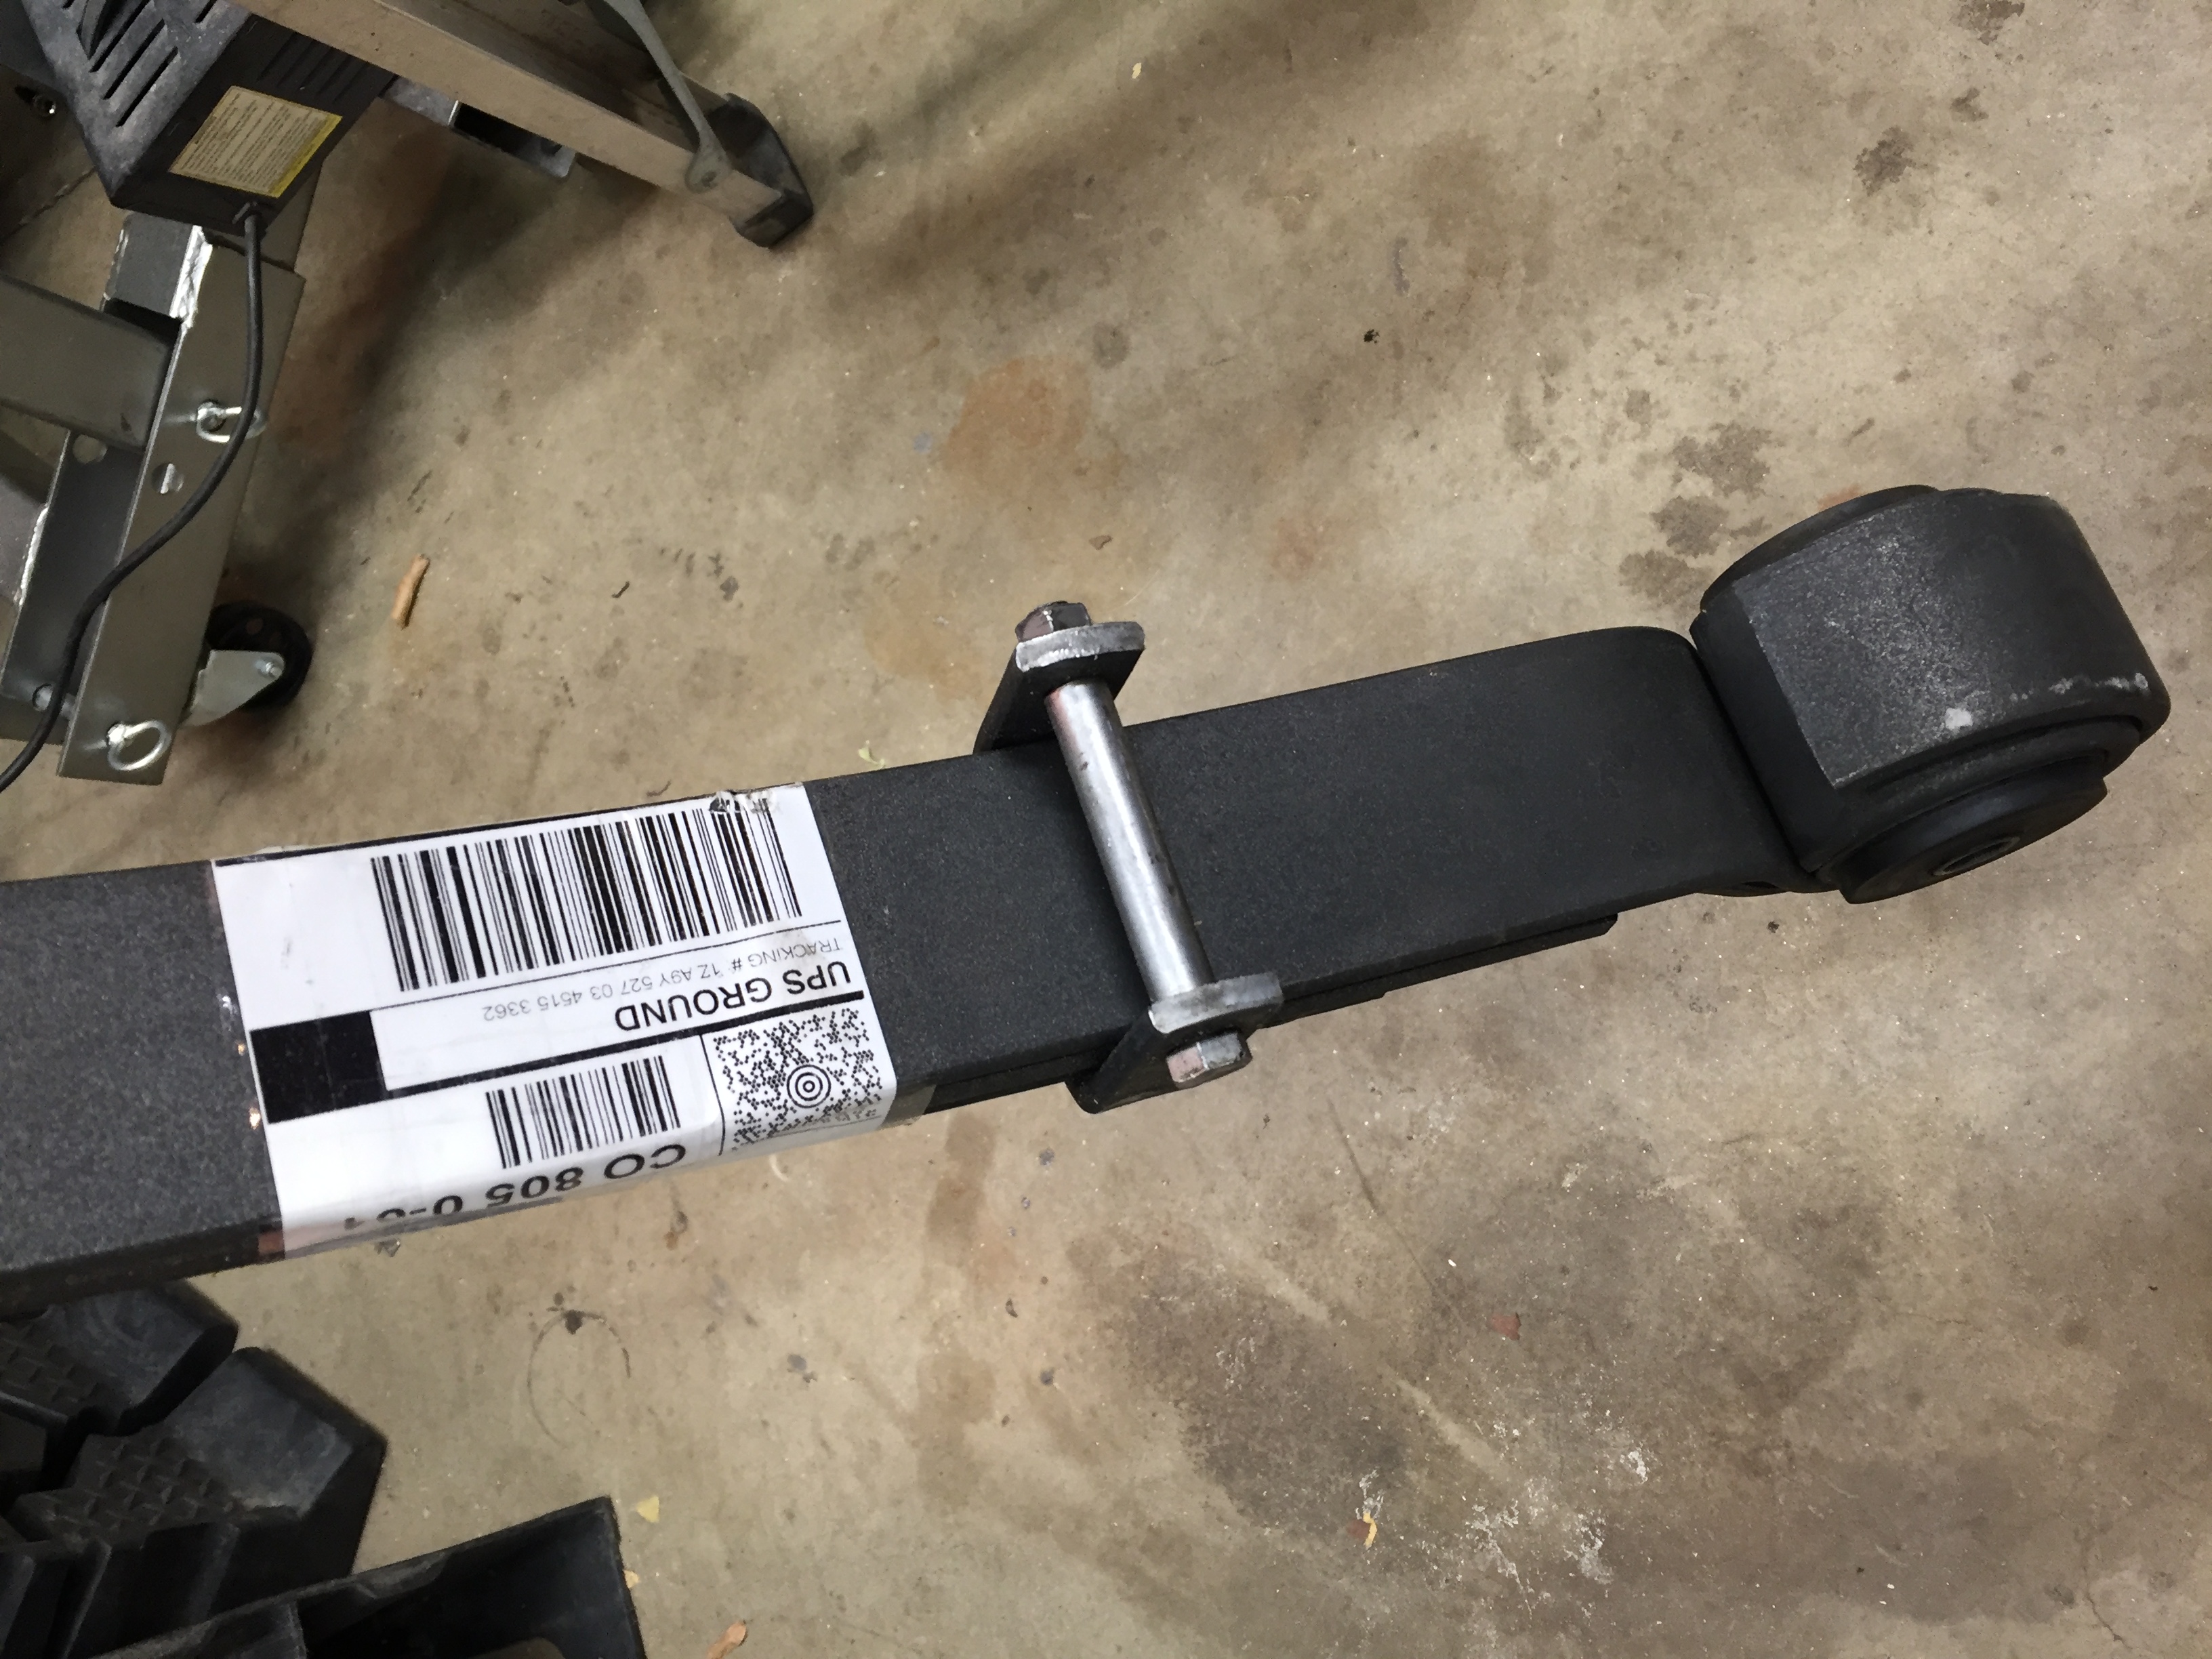
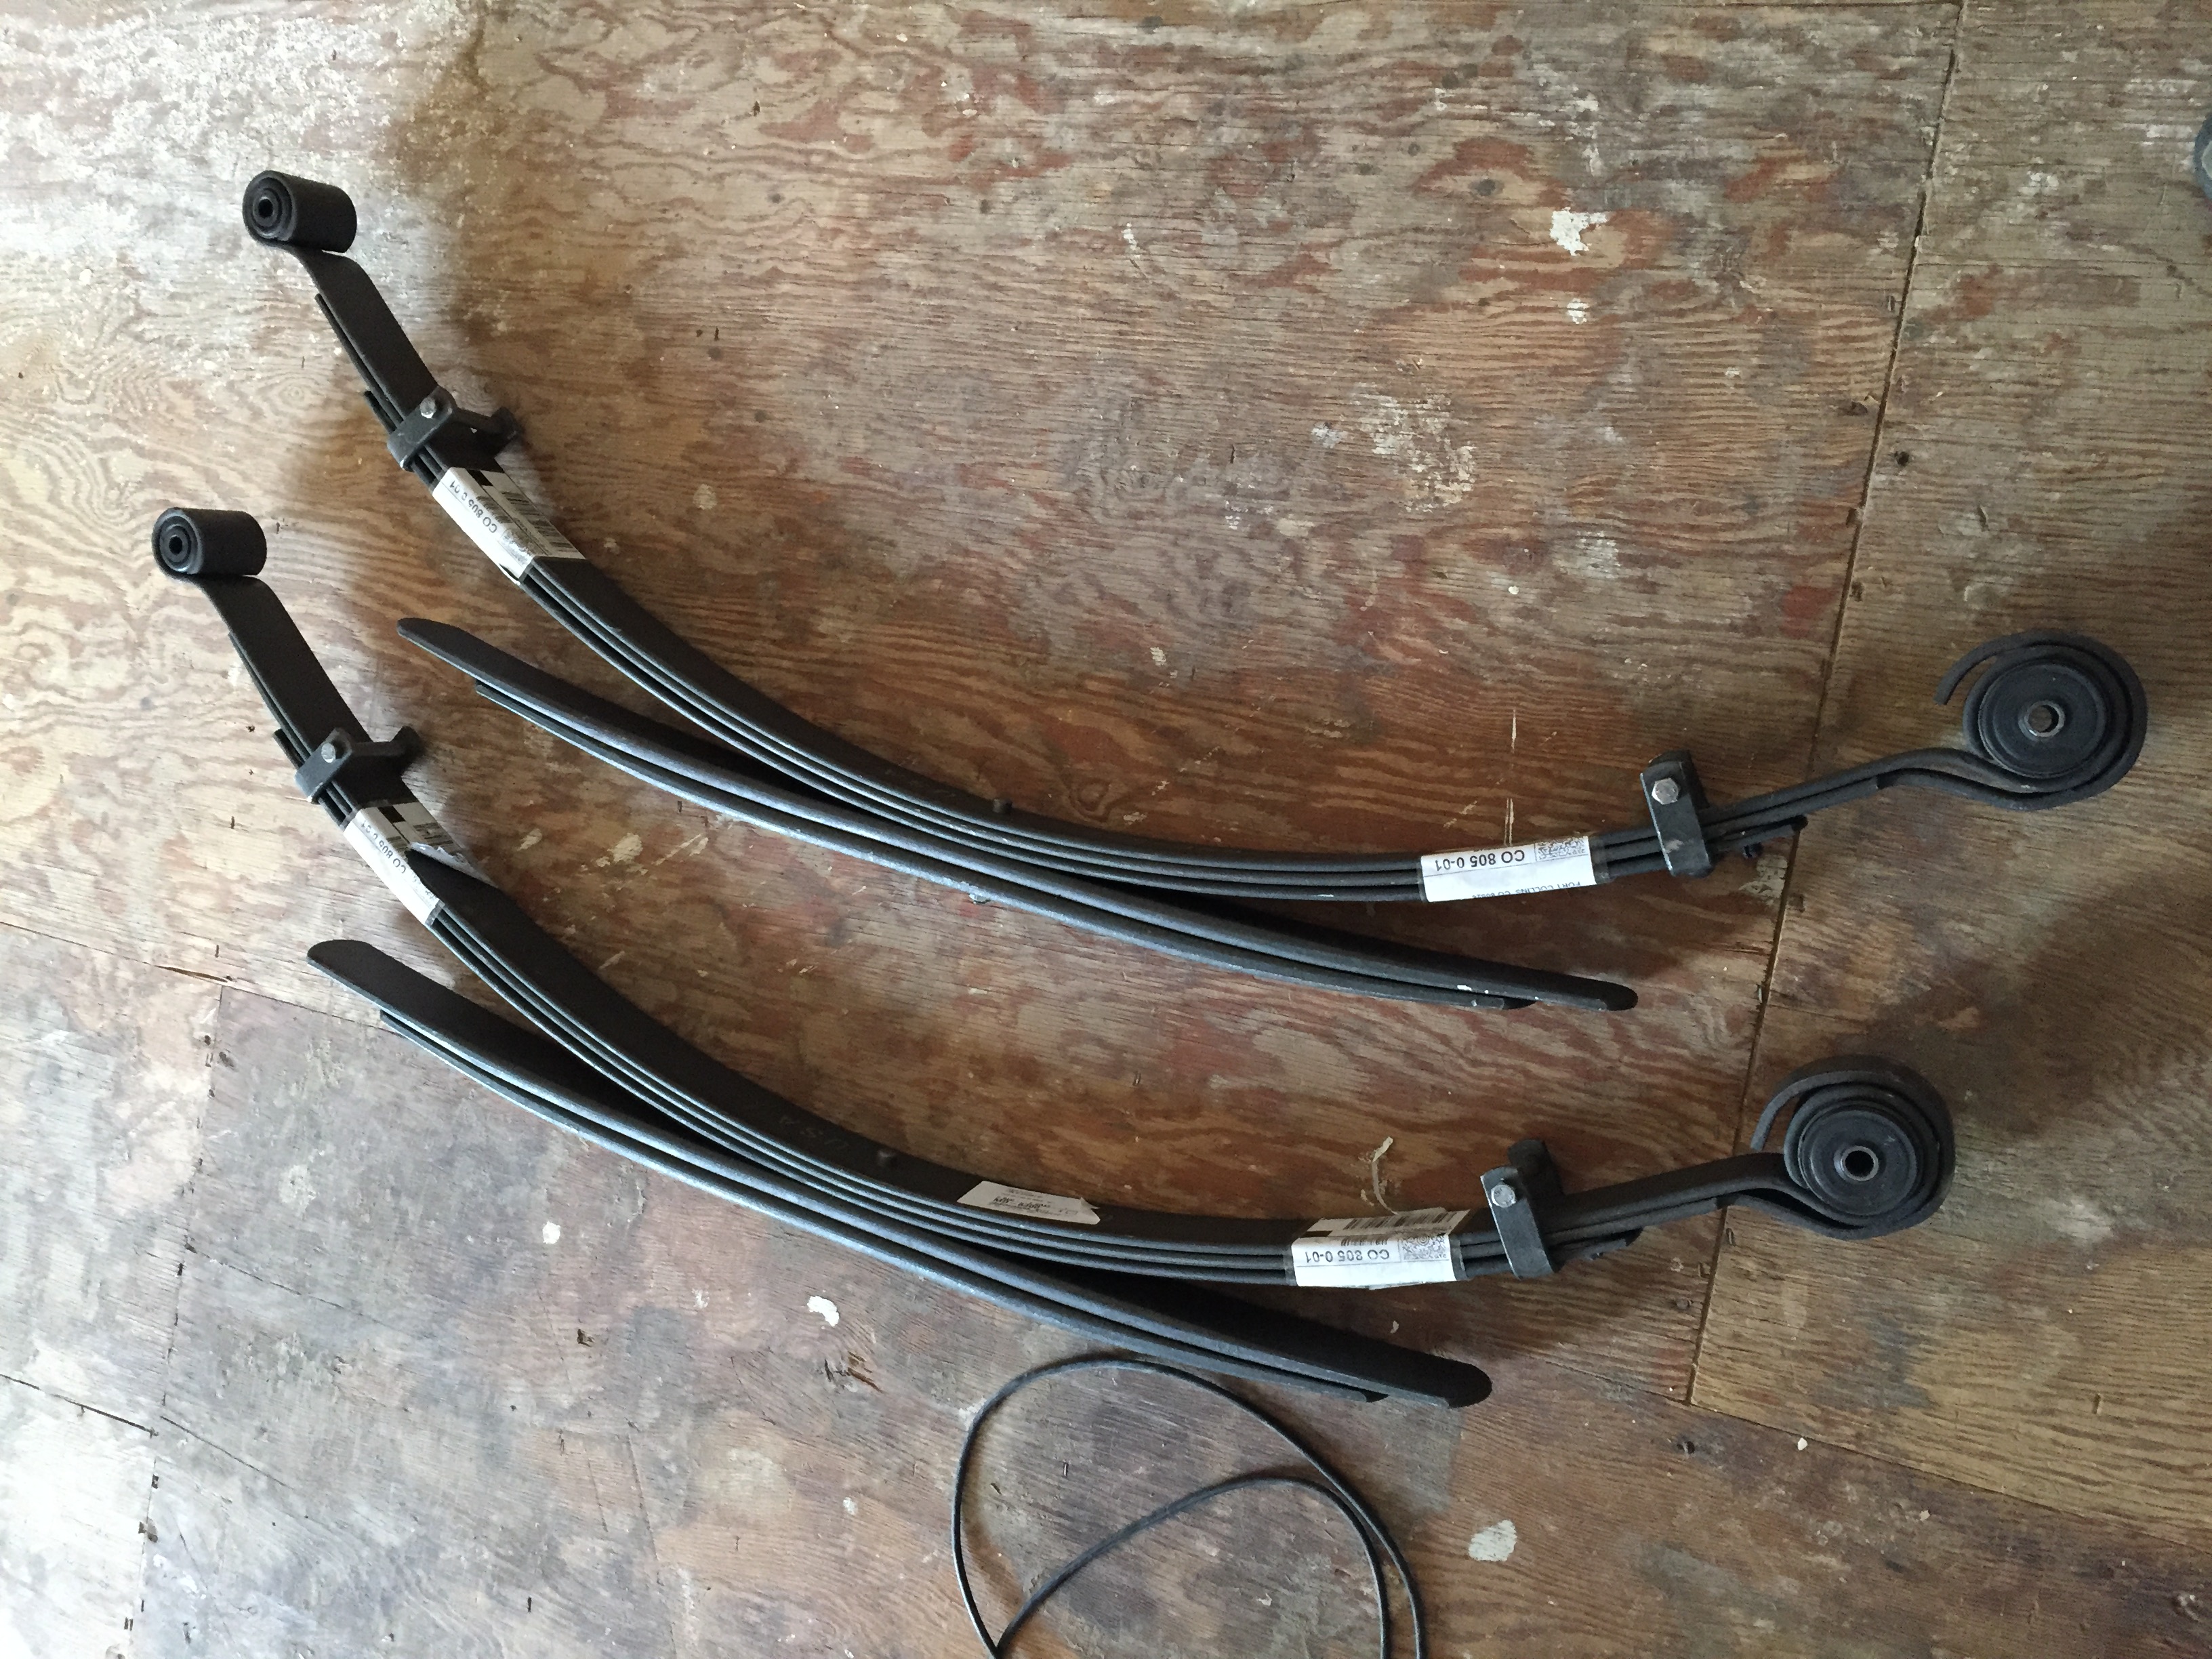
I ordered a pair of metric ton leaf springs with ~3" or so of lift. Took a long damm time to come in but they finally arrived last night.

I have a set of ruff stuff SUA perches that I will use to mount these up to a KJ 8.25 from my 05 parts CRD.

http://www.ruffstuffspecialties.com/...DEAV-WIYP.html


The 8.25 I am using has a limited slip and 3.73s which is a good match for the CRD powerband.
Sir Sam is offline   Reply With Quote
Old 11-04-2017, 06:06 PM   #31
JEEPJERK
Wanna make out?
 
JEEPJERK's Avatar
 
Join Date: Sep 2002
Posts: 60,790
Default

Cool stuff...but your welding does suck. Buy a wire welder.
JEEPJERK is offline   Reply With Quote
Old 11-06-2017, 09:24 AM   #32
6DoF
AKA: jeepnski
 
6DoF's Avatar
 
Join Date: Sep 2002
Location: Pittsburgh, PA
Posts: 16,901
Default

holy crap! game on
6DoF is offline   Reply With Quote
Old 11-06-2017, 09:28 AM   #33
FUBAR
four years later???
 
FUBAR's Avatar
 
Join Date: Aug 2006
Posts: 18,468
Default

You're taking this to a whole different level. I admire the time, patience and detail in this project. Kudos to you.
__________________
I melt down nails and beer cans to make my own pistons. That's how hardcore I am.
FUBAR is offline   Reply With Quote
Old 11-07-2017, 01:08 PM   #34
Cobound
- The Don -
 
Cobound's Avatar
 
Join Date: Sep 2002
Location: MN
Posts: 49,188
Default

Quote:
Originally Posted by FUBAR View Post
You're taking this to a whole different level. I admire the time, patience and detail in this project. Kudos to you.
Yeah, no kidding! People that question why custom builds cost so much, what goes into them...need to see build threads like this to appreciate them.

Research. Parts acquisition. Labor, list goes on...all, includingSam's welding skills, are being highlighted here!

Keep the updates coming!!
__________________
To each his own.

Not all those who wander are lost.

The great irony - triggered snowflakes accusing triggered snowflakes of being triggered snowflakes
Cobound is offline   Reply With Quote
Old 11-09-2017, 02:07 PM   #35
nblehm
Needs moar dagger
 
Join Date: Feb 2004
Posts: 26,785
Send a message via AIM to nblehm
Default

Man, I tried but that front end is just not for me.
nblehm is offline   Reply With Quote
Old 11-09-2017, 02:13 PM   #36
Cobound
- The Don -
 
Cobound's Avatar
 
Join Date: Sep 2002
Location: MN
Posts: 49,188
Default

Quote:
Originally Posted by nblehm View Post
Man, I tried but that front end is just not for me.
I prefer the '97+ fronts myself, but I can appreciate this being different.

B
__________________
To each his own.

Not all those who wander are lost.

The great irony - triggered snowflakes accusing triggered snowflakes of being triggered snowflakes
Cobound is offline   Reply With Quote
Old 11-14-2017, 07:14 PM   #37
Sir Sam
Working Mother
 
Join Date: Mar 2004
Posts: 19,918
Send a message via AIM to Sir Sam
Default

Quote:
Originally Posted by Cobound View Post
I prefer the '97+ fronts myself, but I can appreciate this being different.

B
Like I said back in the day, I wasn't 100% on it untill I saw it in person. I like the 97+ front, but this looks good and its interesting to have something that is still aesthetically pleasing and different.
Sir Sam is offline   Reply With Quote
Old 11-20-2017, 11:46 AM   #38
Cobound
- The Don -
 
Cobound's Avatar
 
Join Date: Sep 2002
Location: MN
Posts: 49,188
Default

__________________
To each his own.

Not all those who wander are lost.

The great irony - triggered snowflakes accusing triggered snowflakes of being triggered snowflakes
Cobound is offline   Reply With Quote
Old 01-16-2018, 09:44 PM   #39
Sir Sam
Working Mother
 
Join Date: Mar 2004
Posts: 19,918
Send a message via AIM to Sir Sam
Default

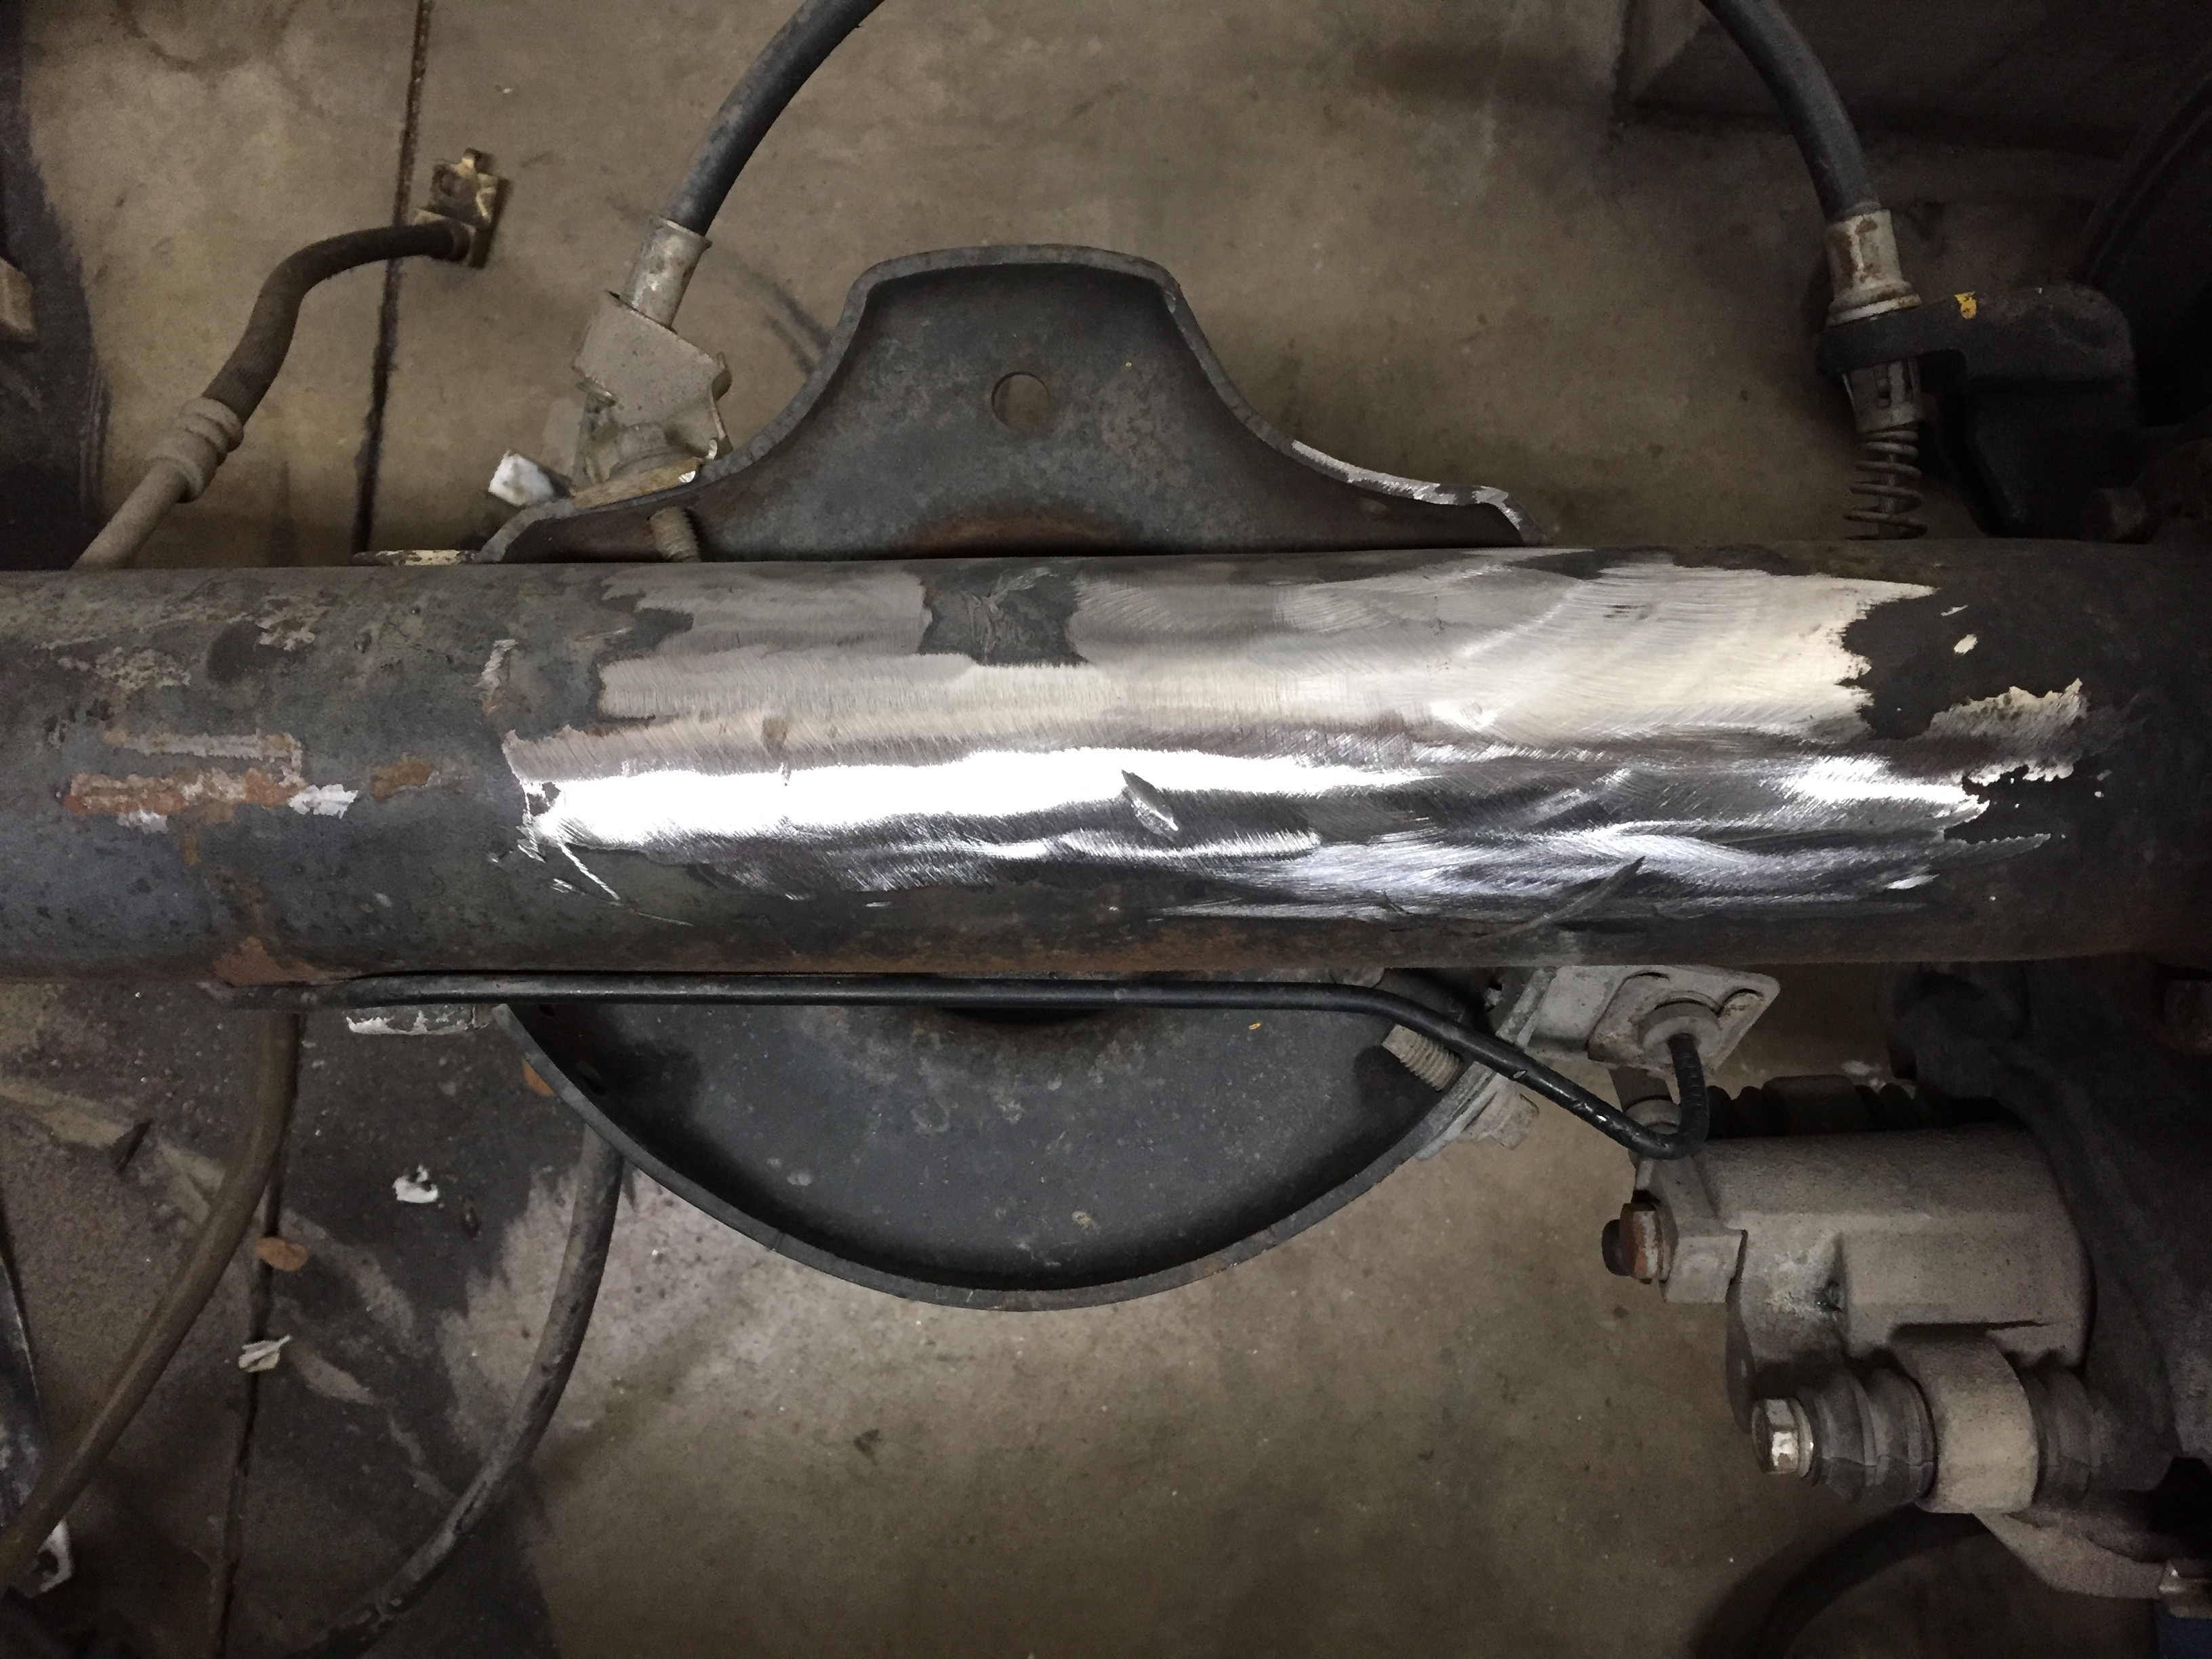
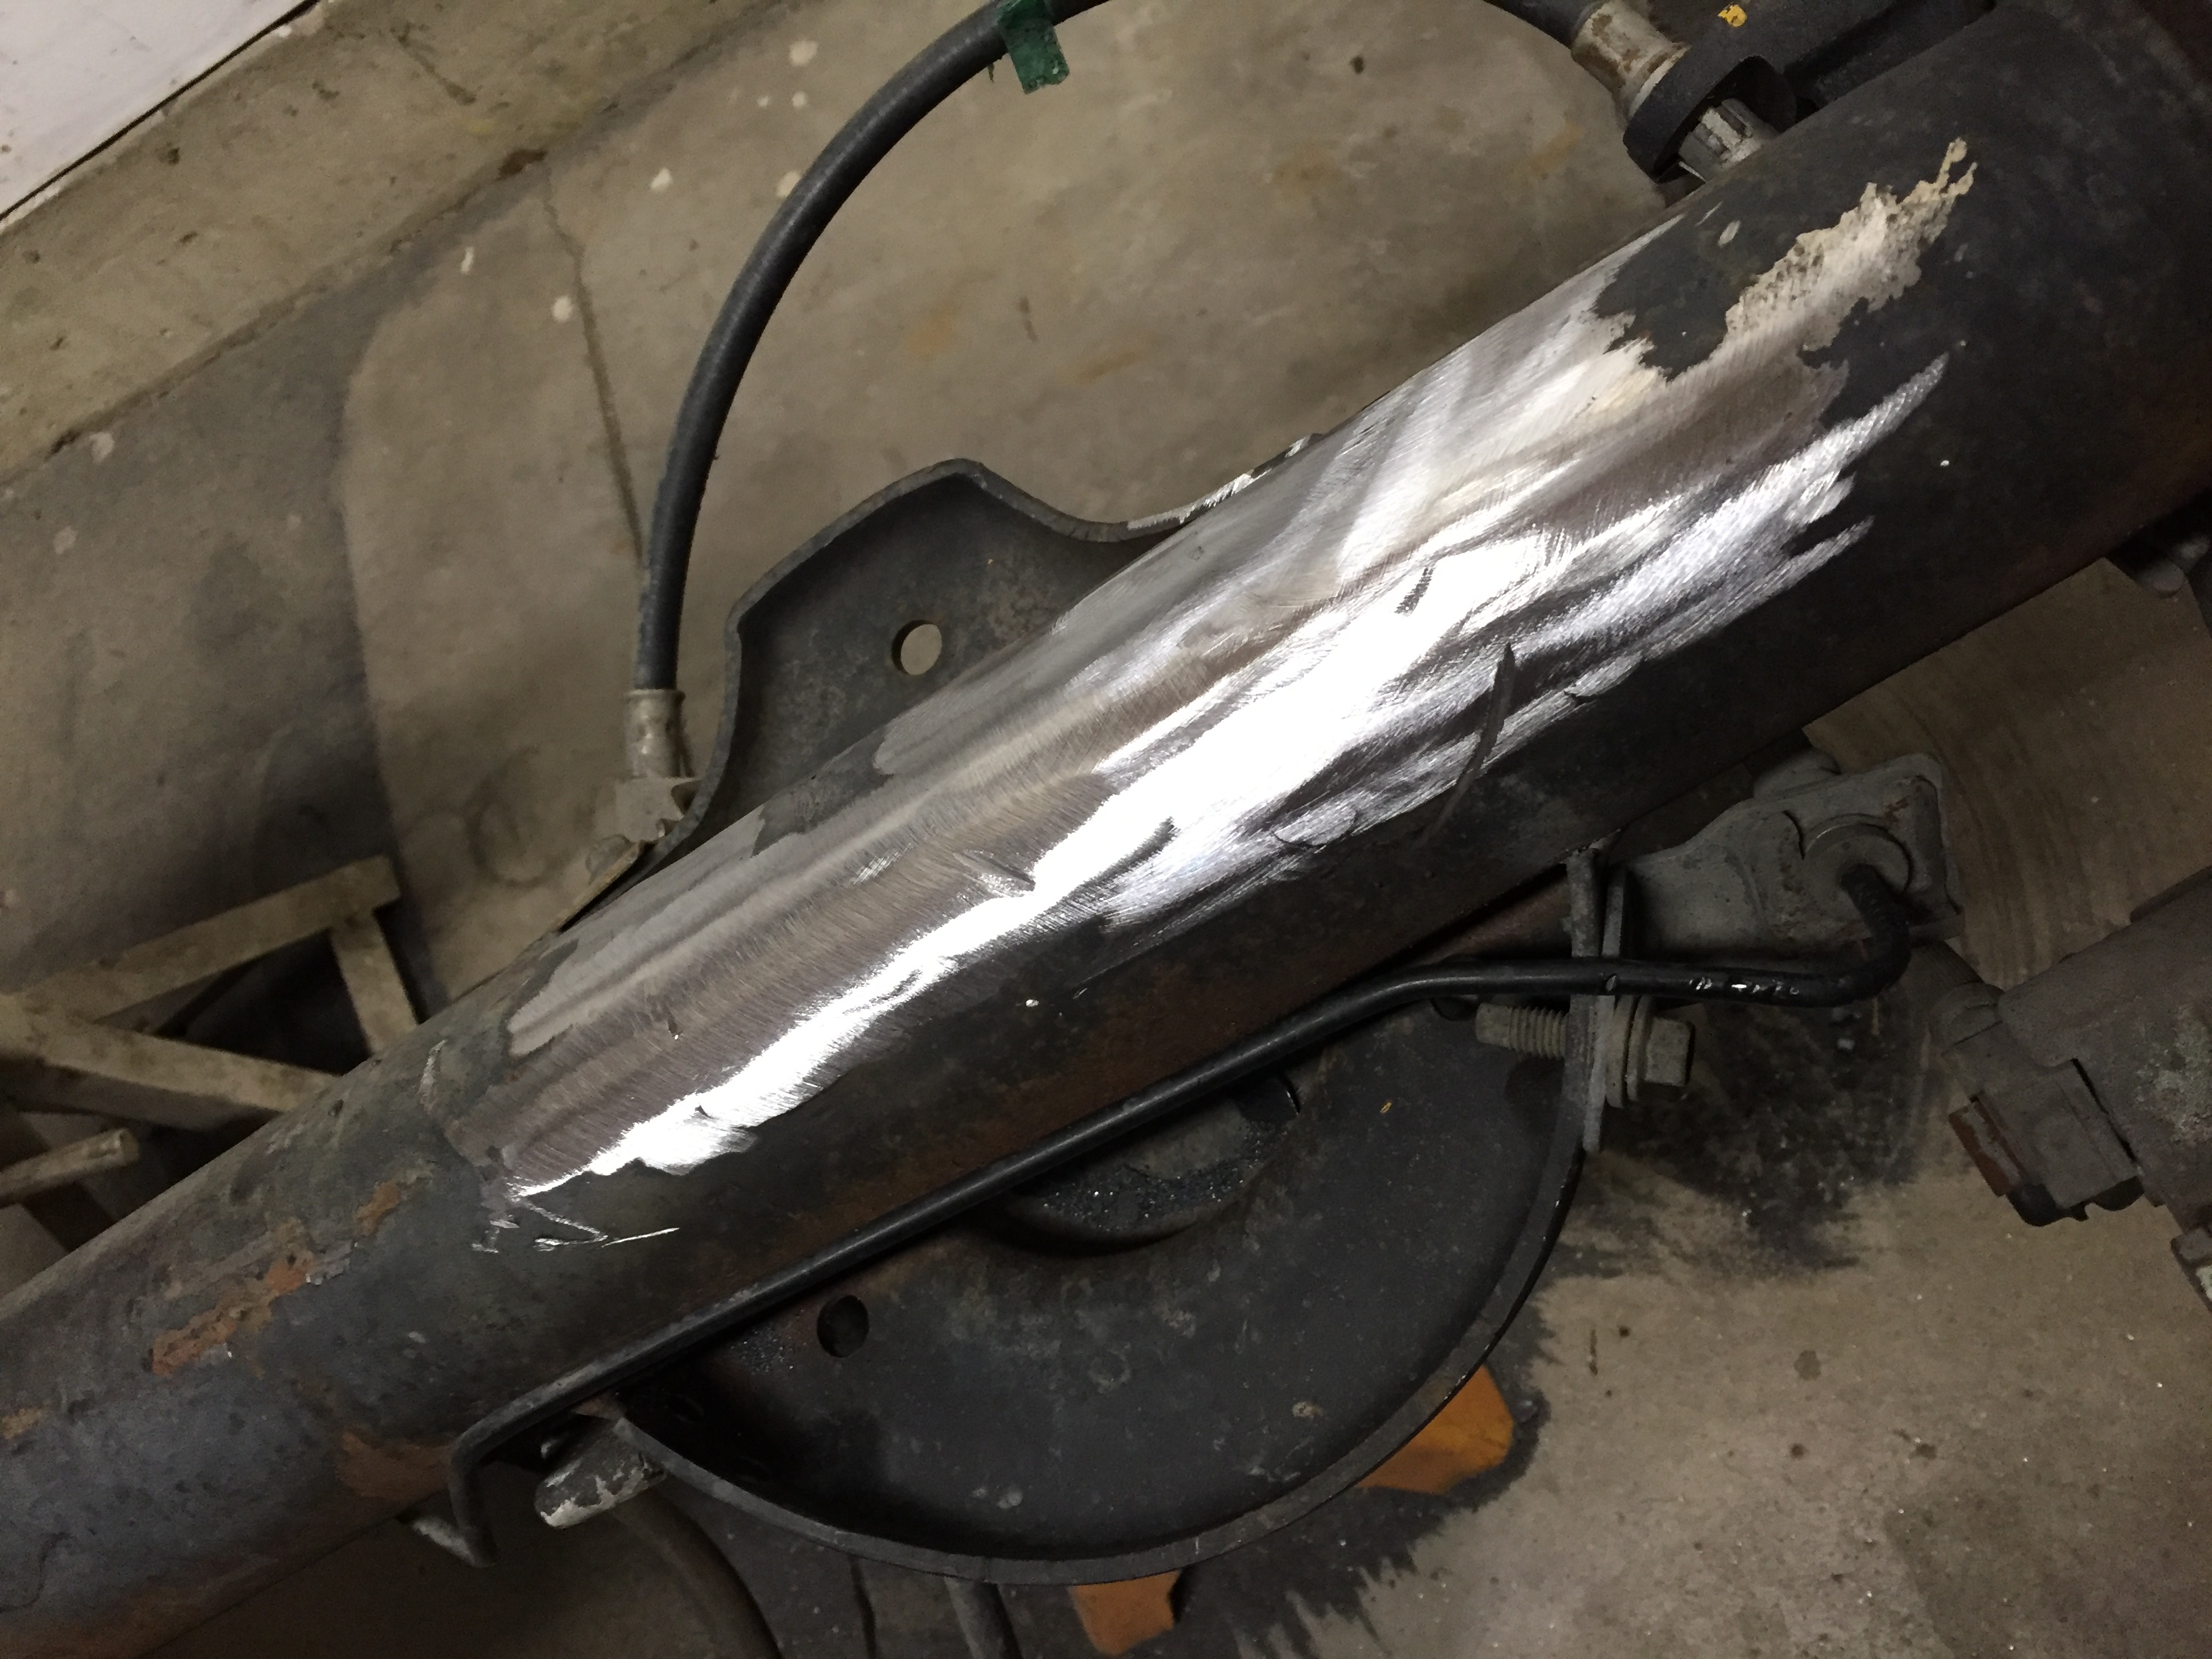
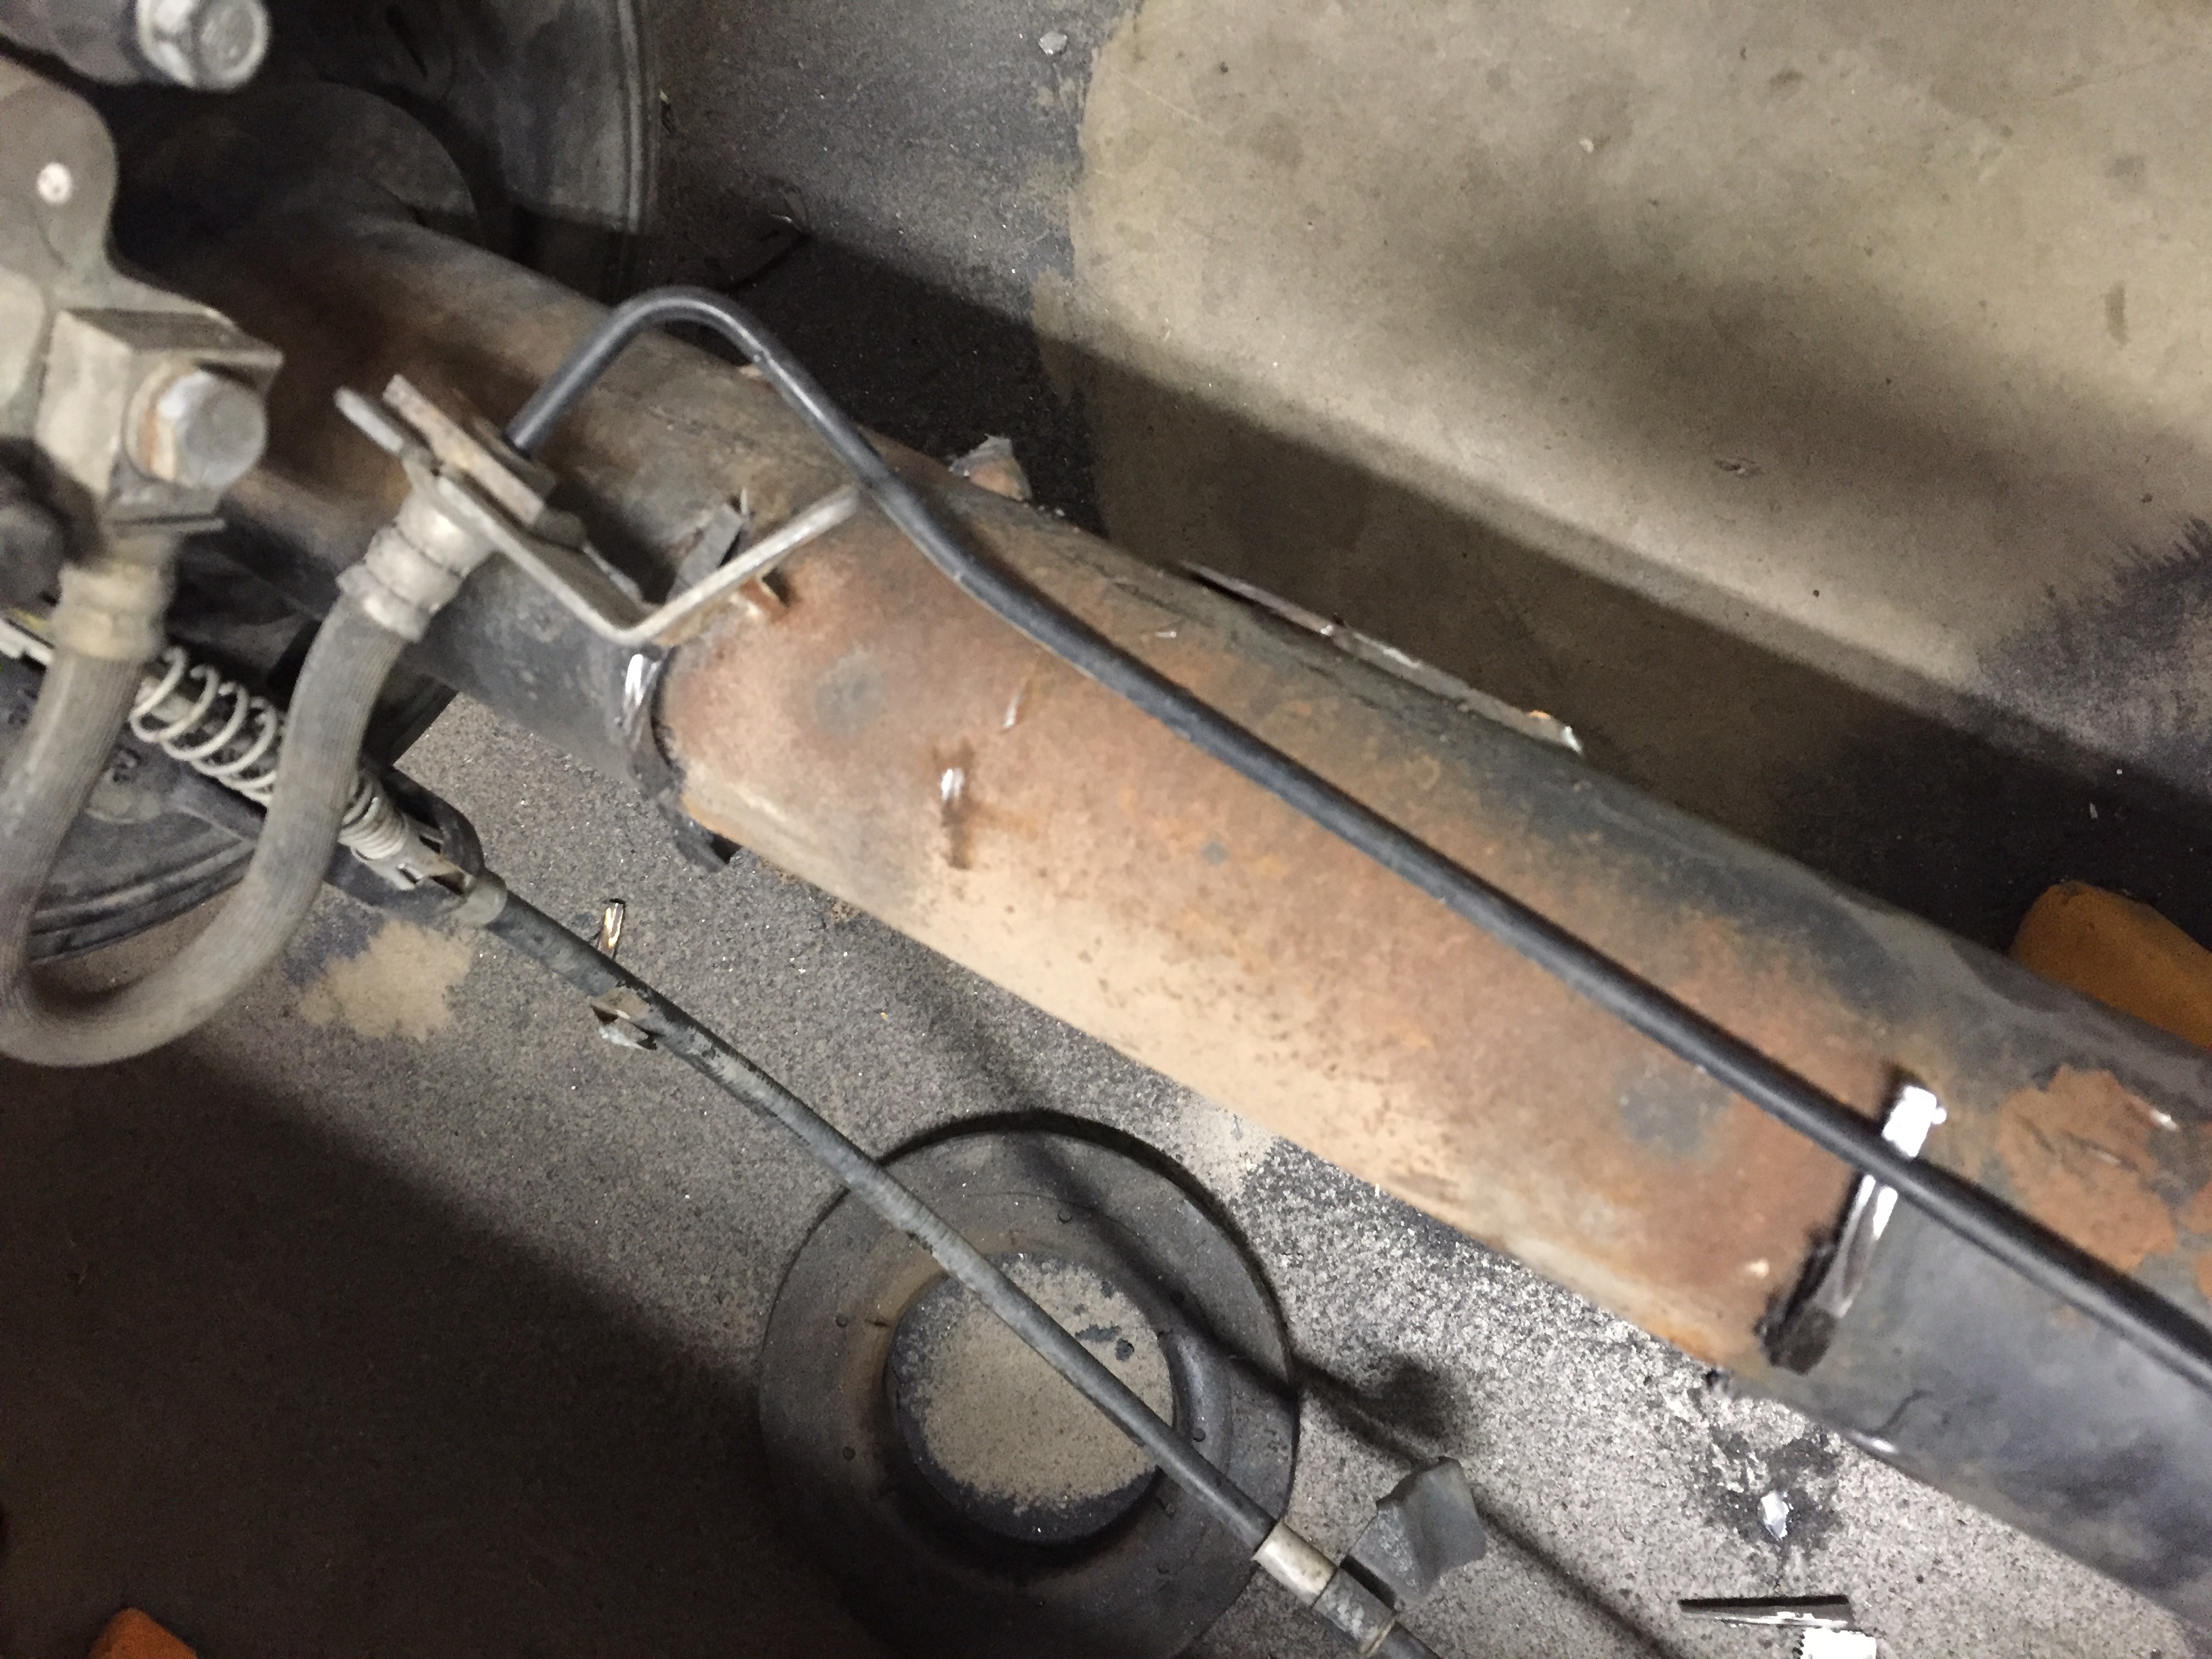
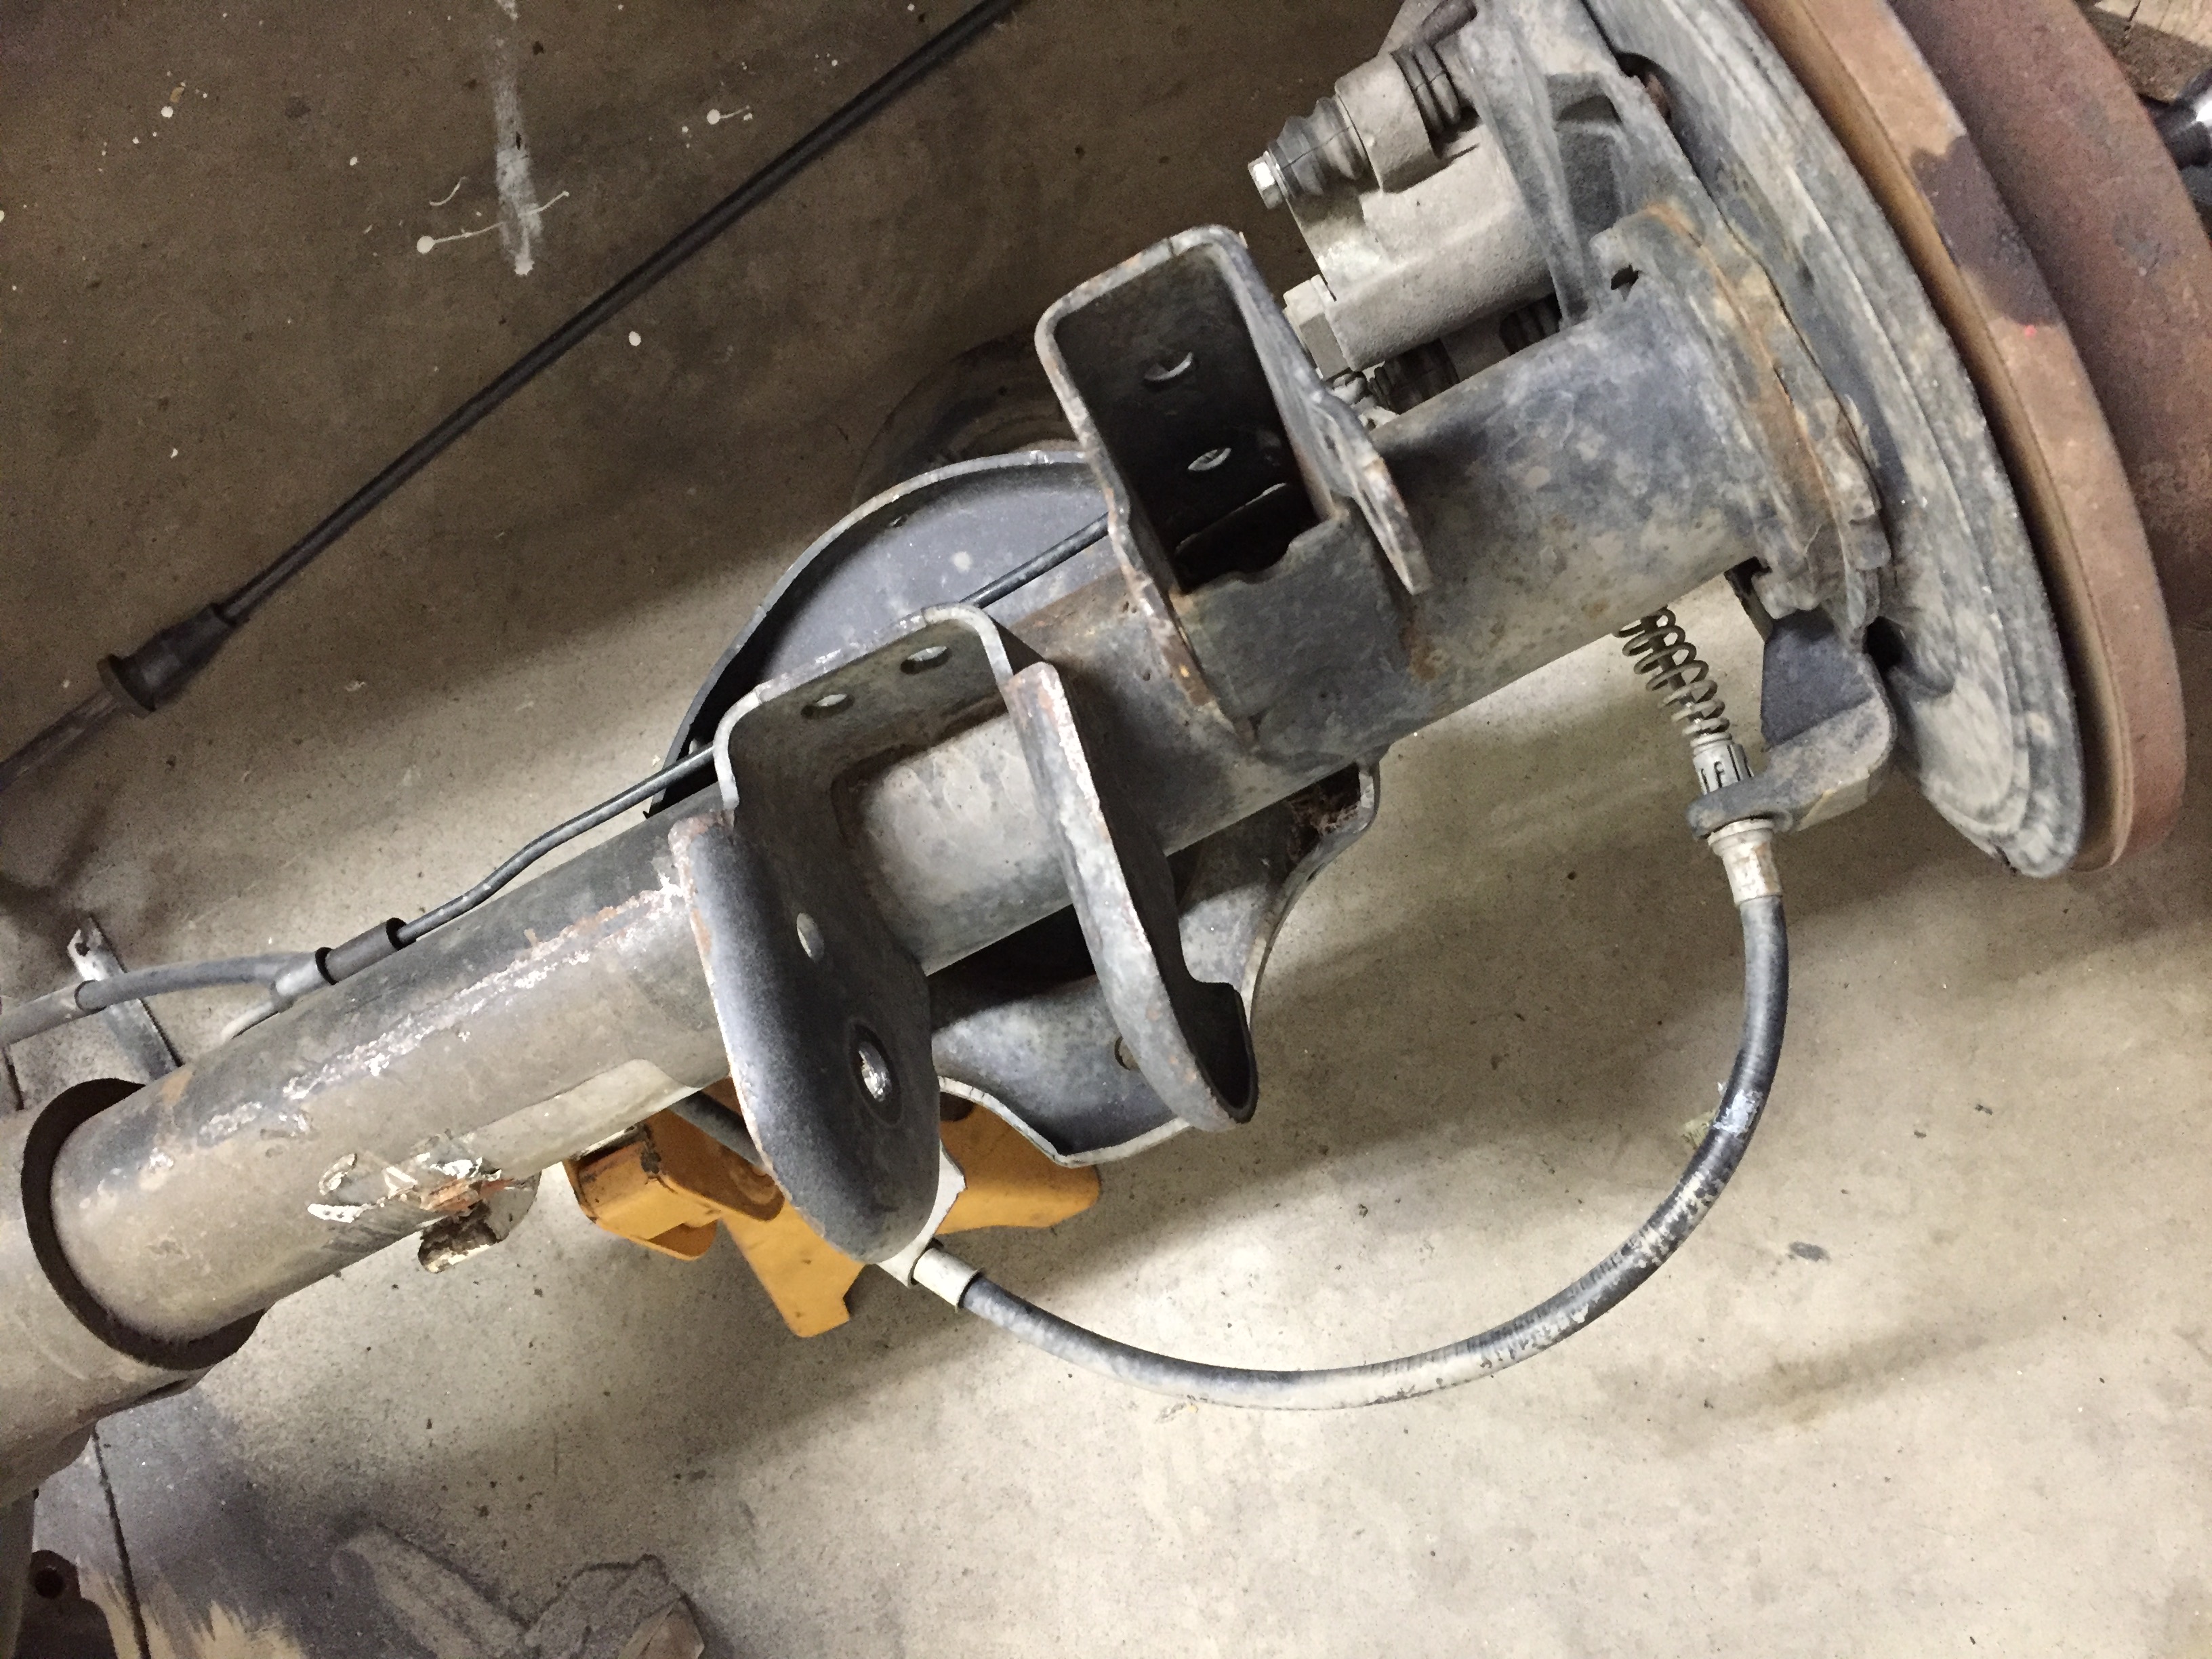
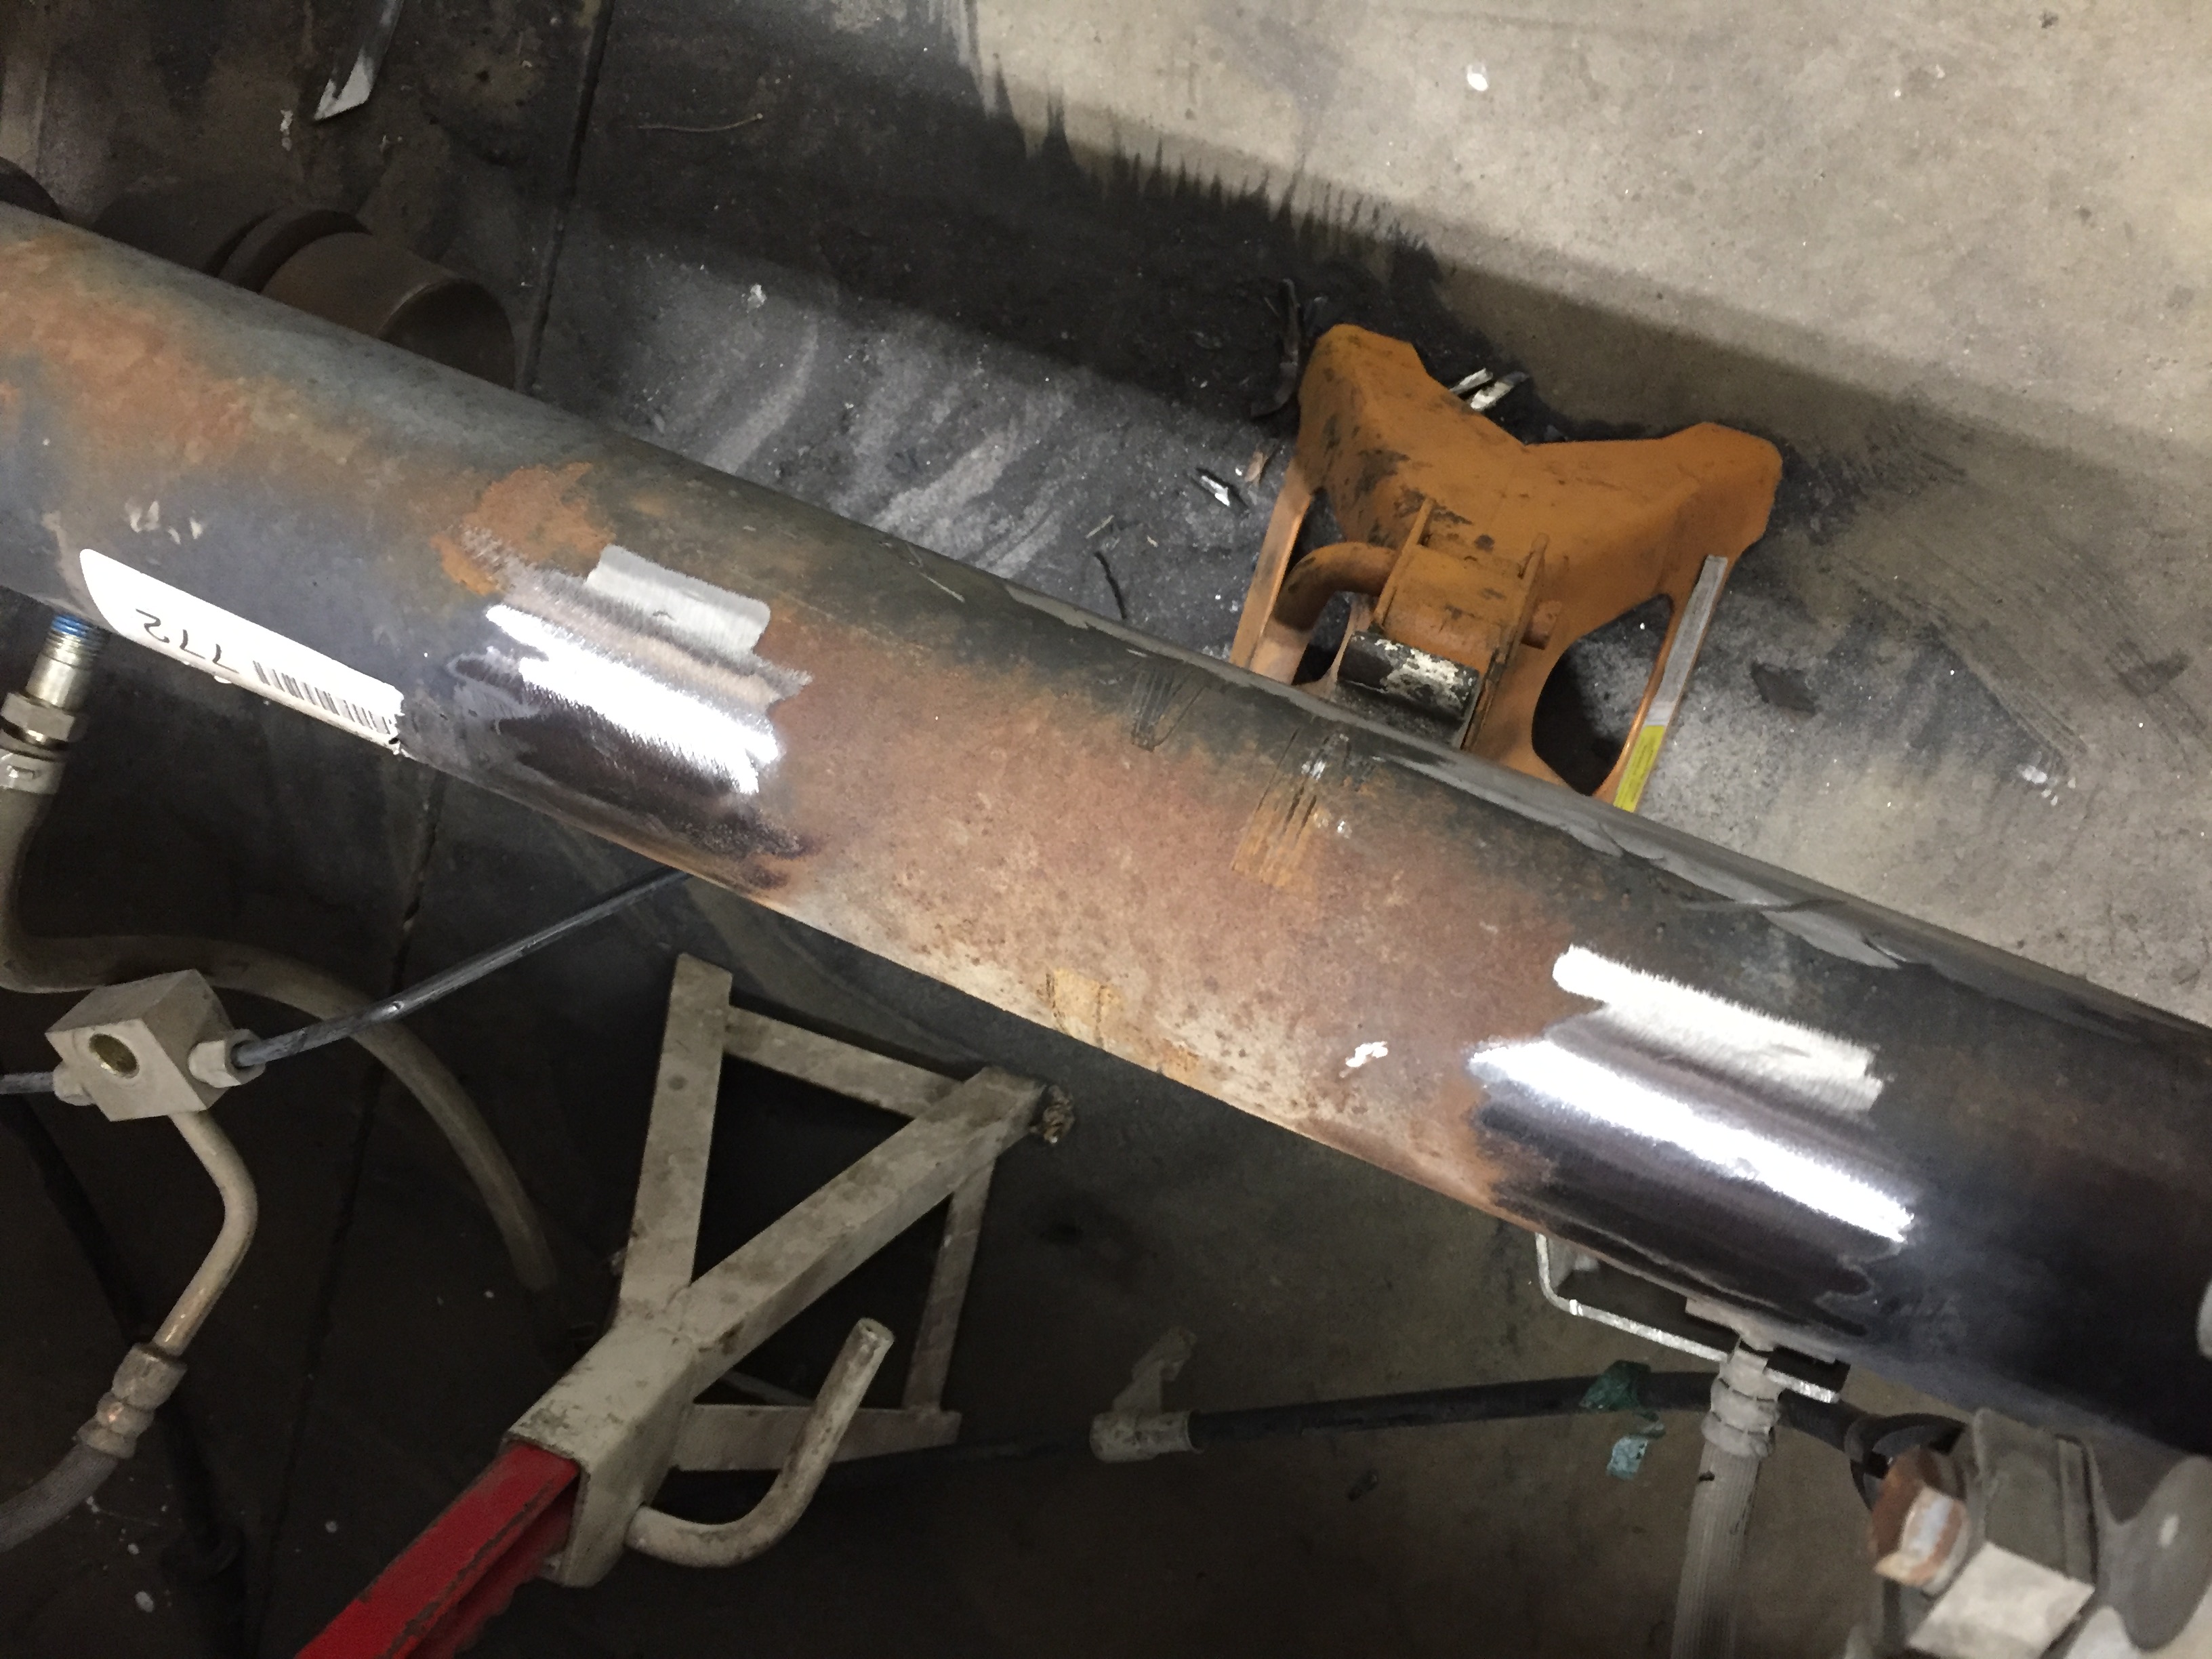
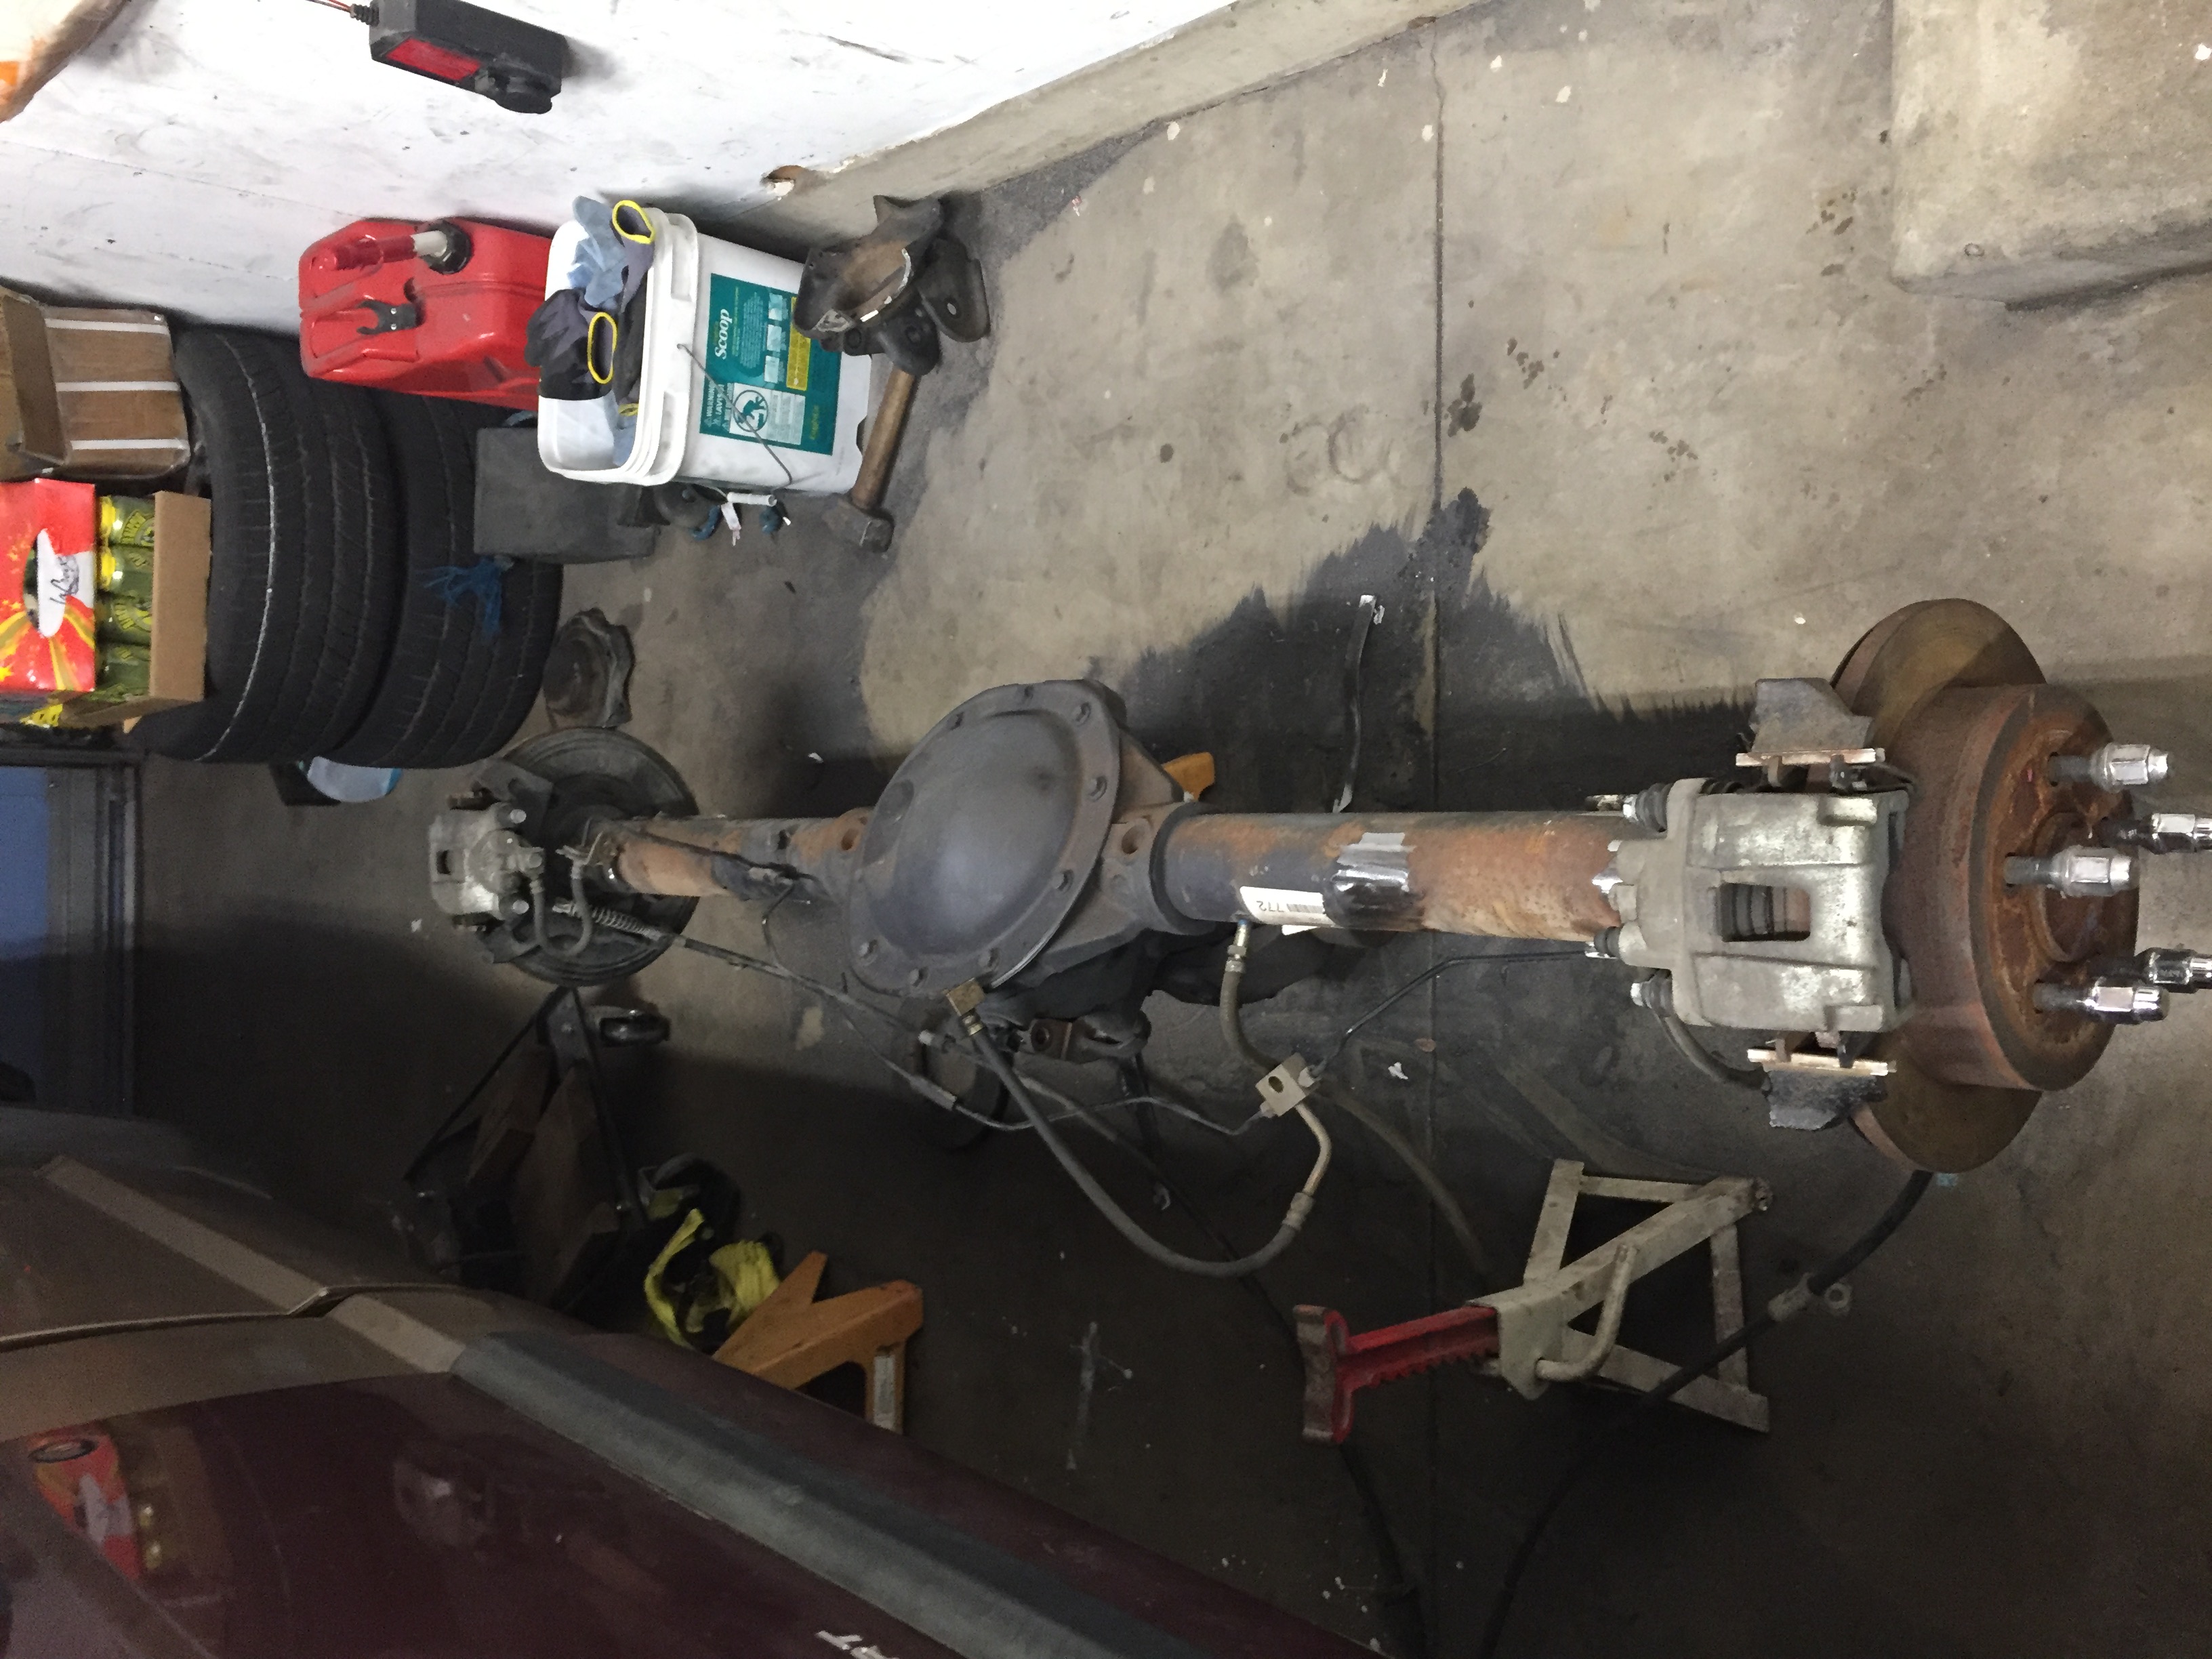
Rolled the MJ into the garage and started prepping the KJ axle, got the KJ brackets - lower control arm, shock mount, and spring pad cutoff, and I am half done grinding the tube smooth.

Brackets to cutoff:


Spring pad cleaned up:


Everything cutoff:


Sir Sam is offline   Reply With Quote
Old 01-16-2018, 10:18 PM   #40
Sir Sam
Working Mother
 
Join Date: Mar 2004
Posts: 19,918
Send a message via AIM to Sir Sam
Default

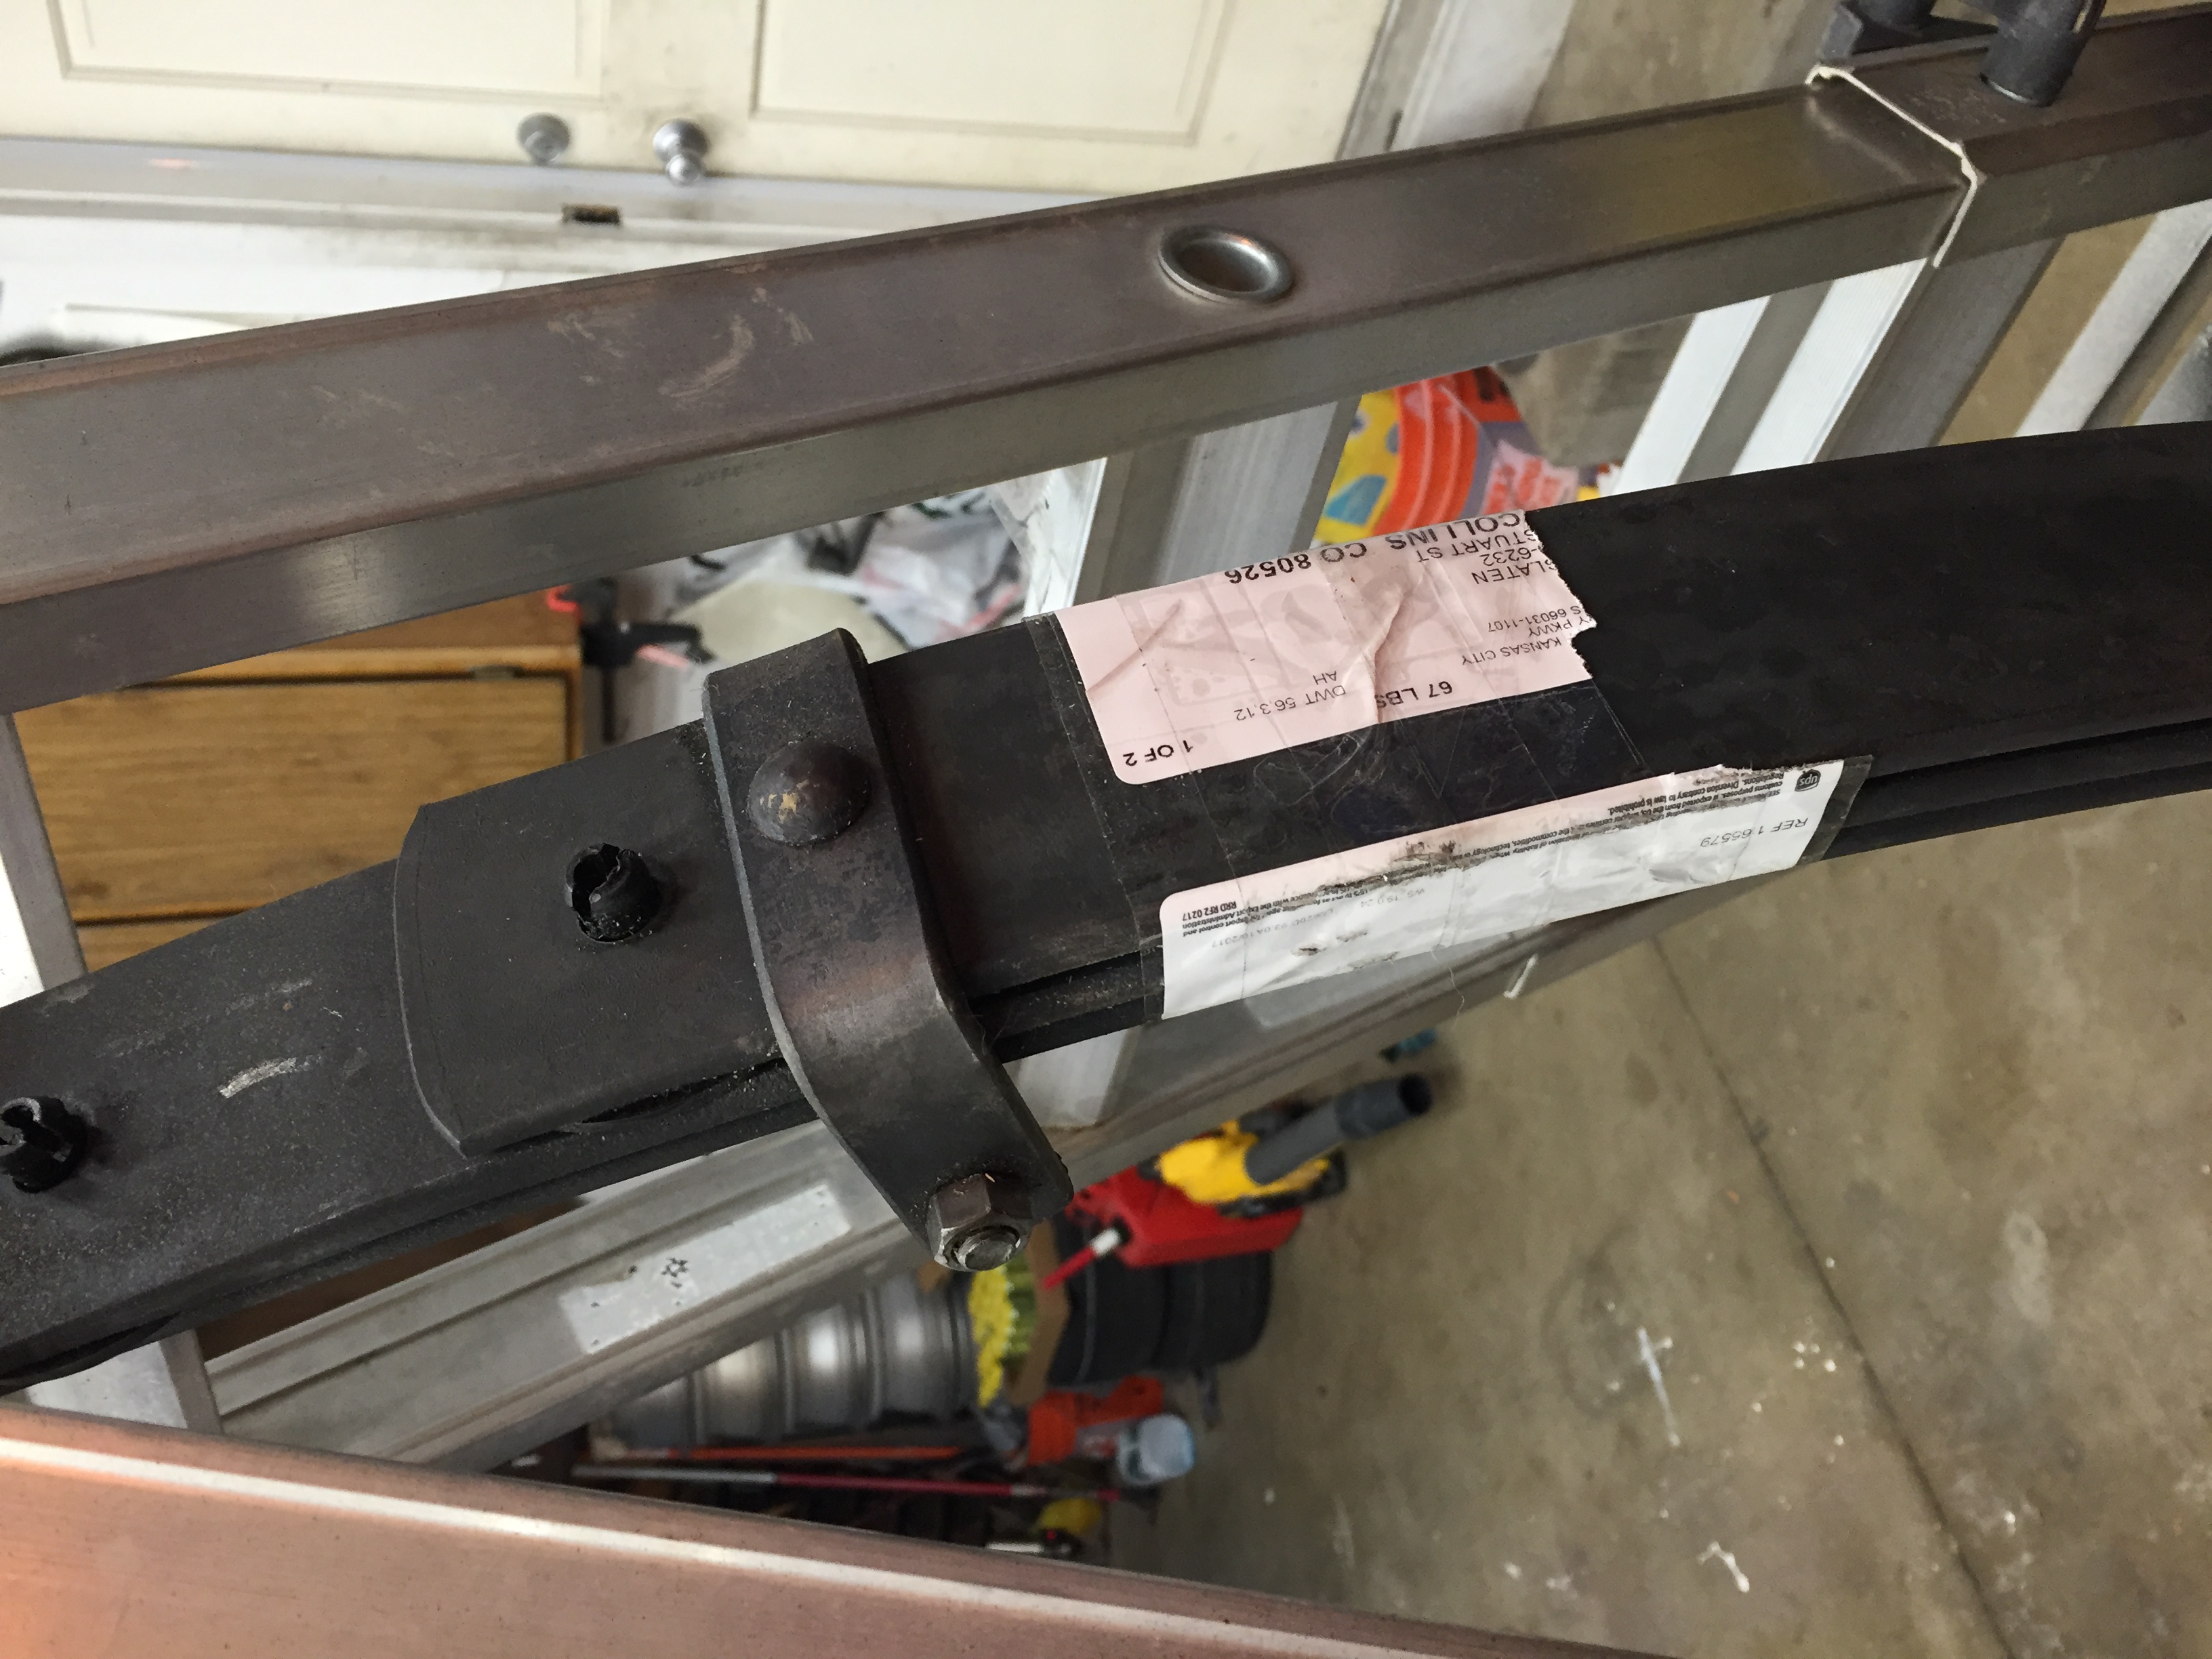
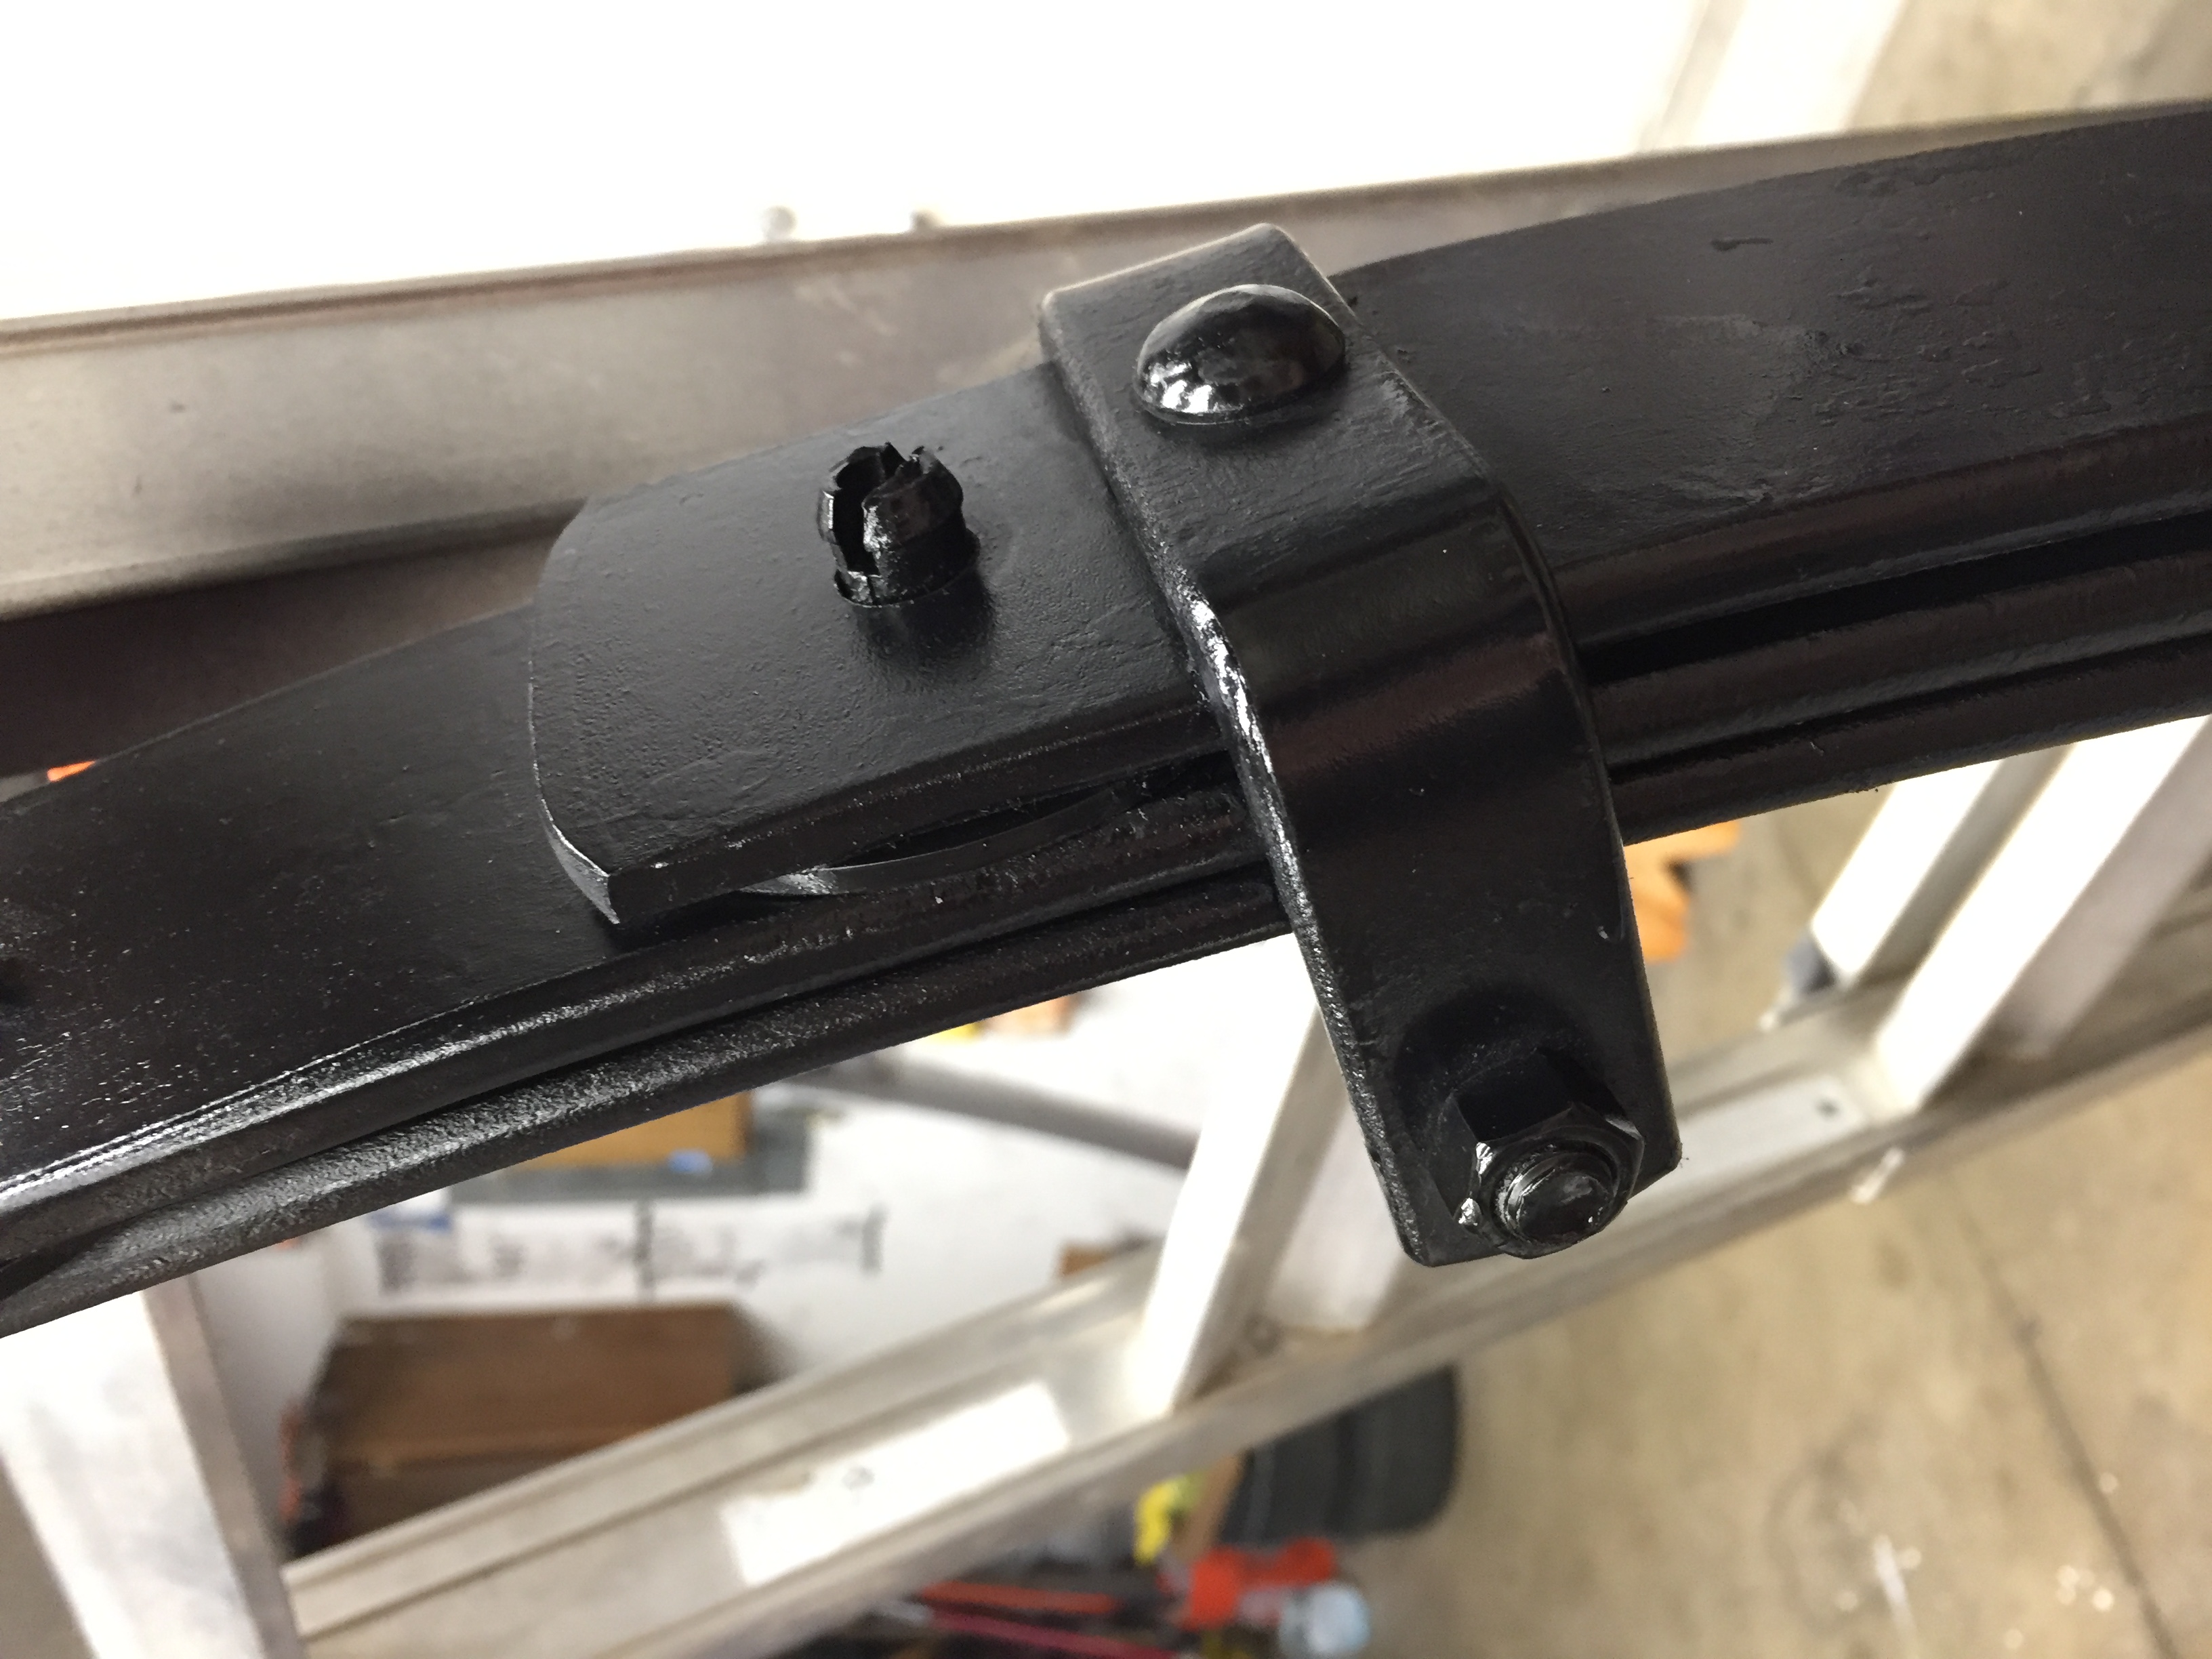
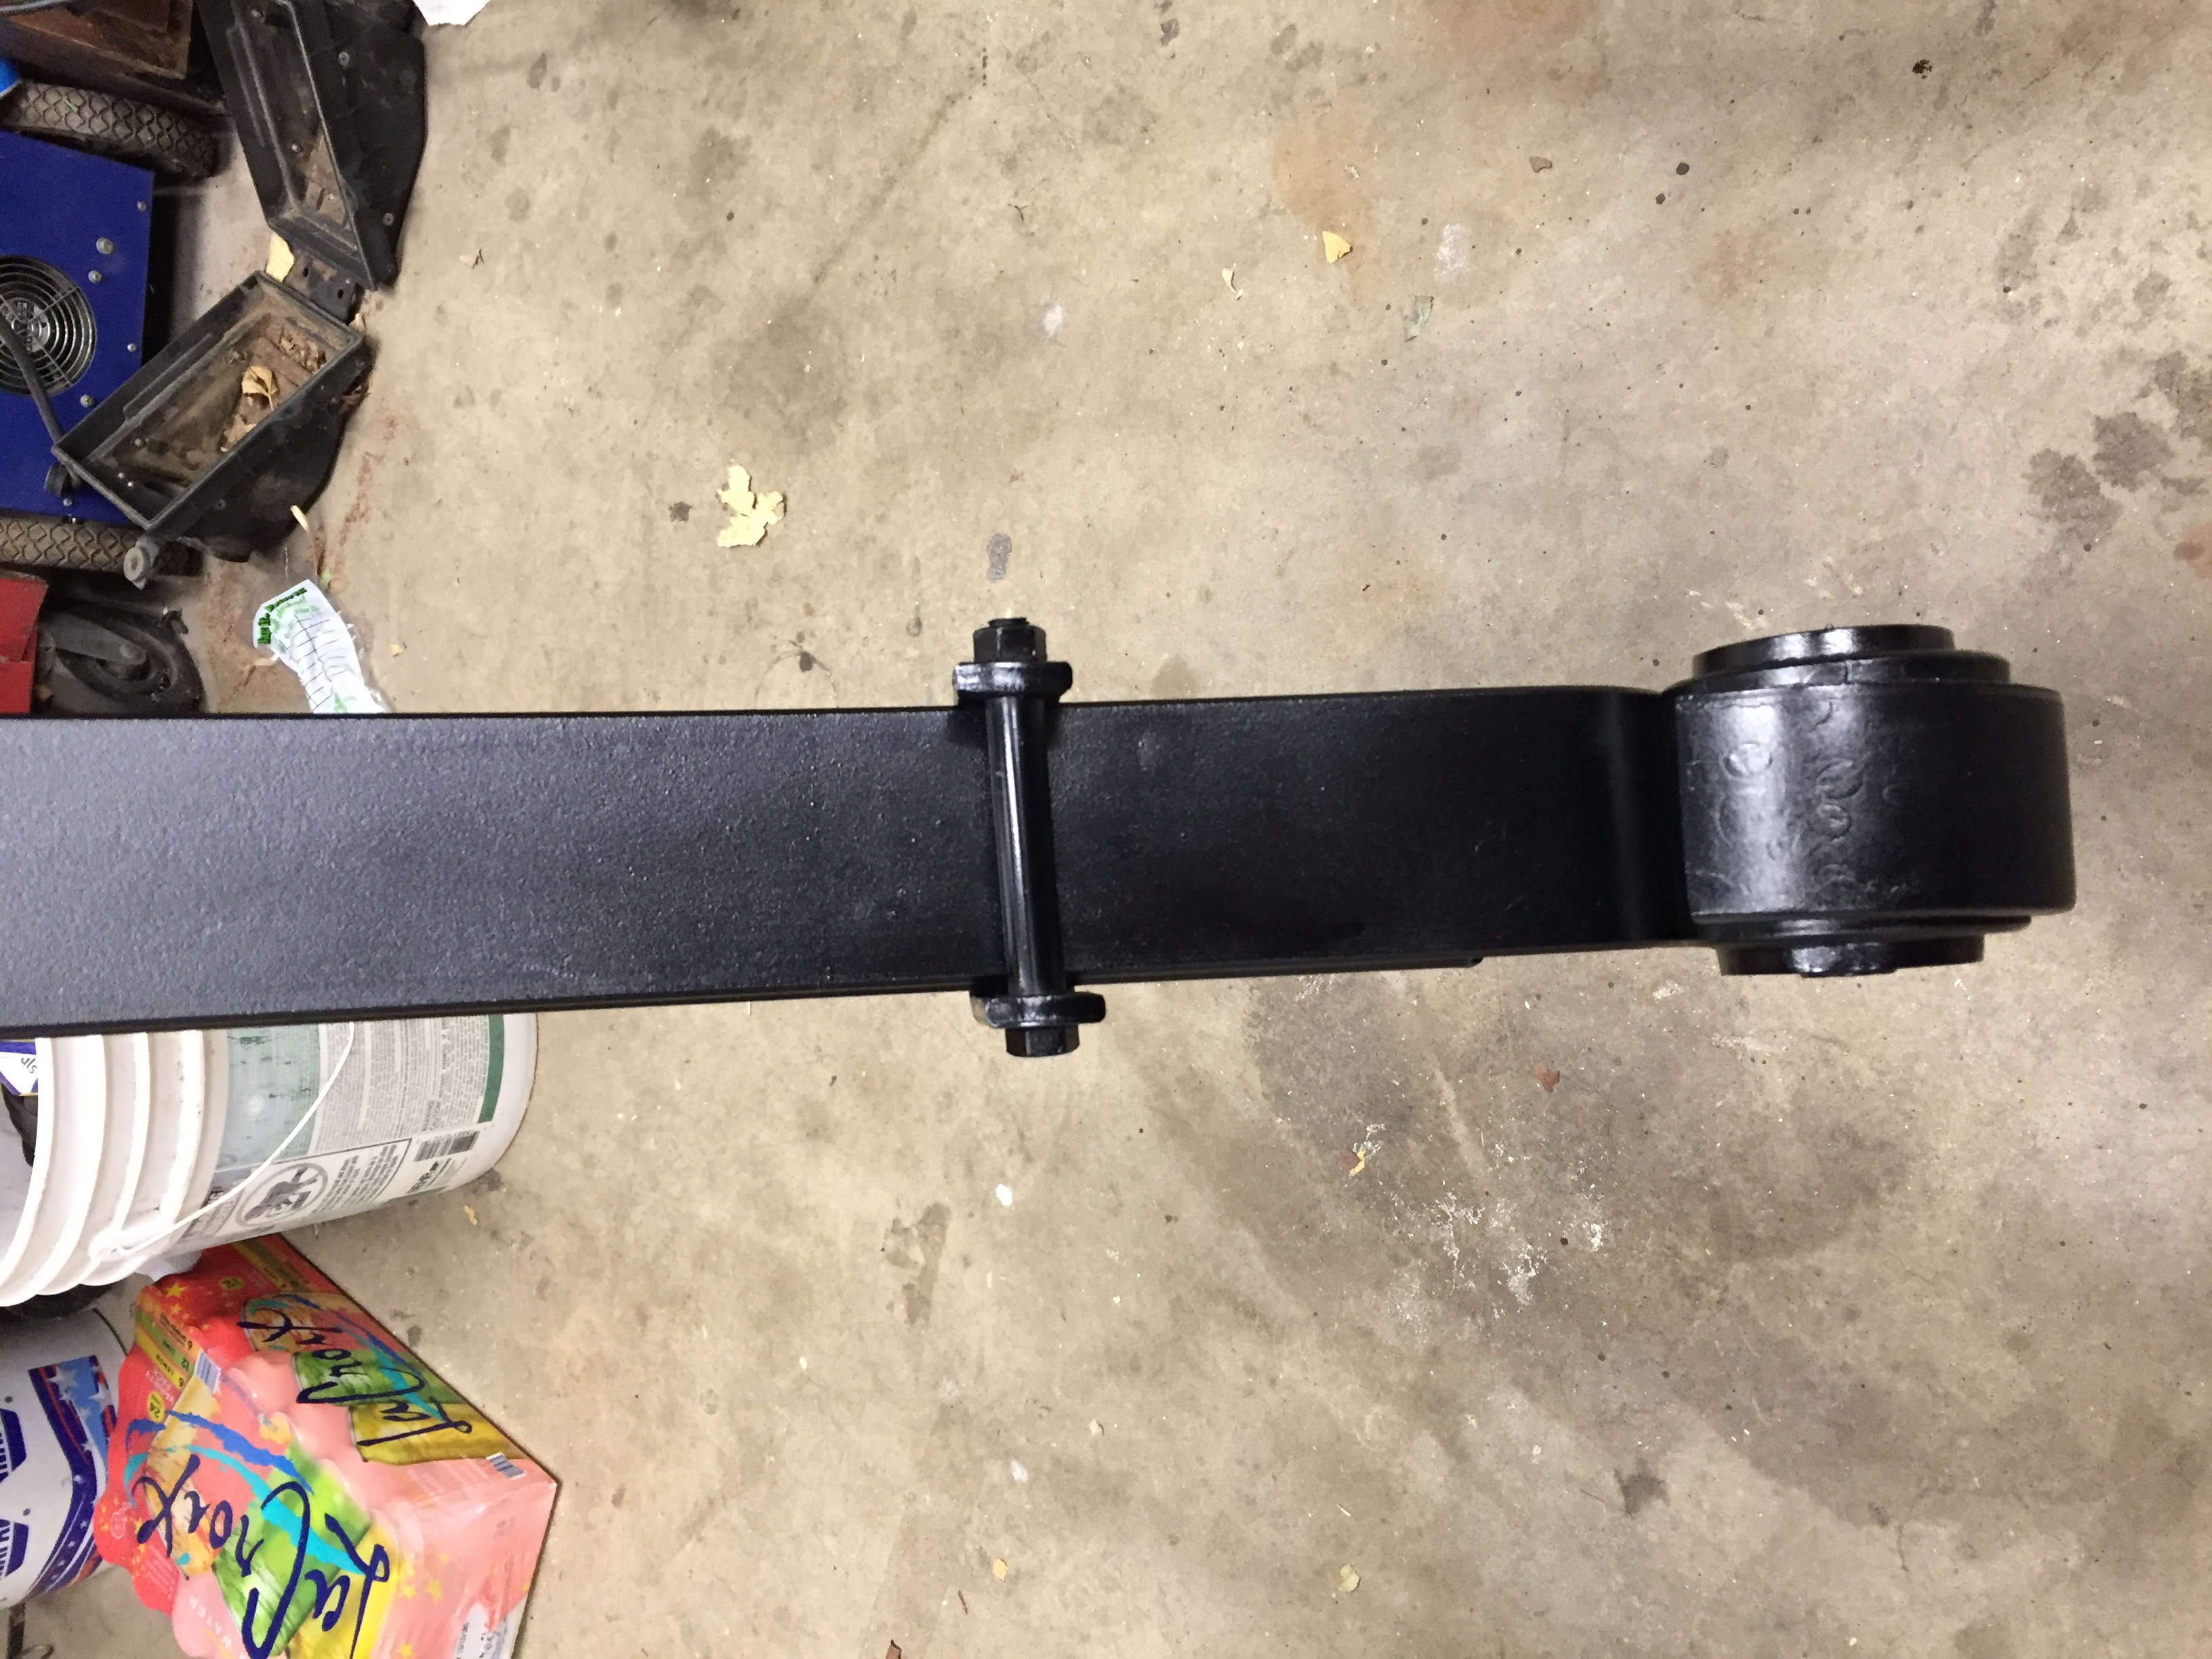
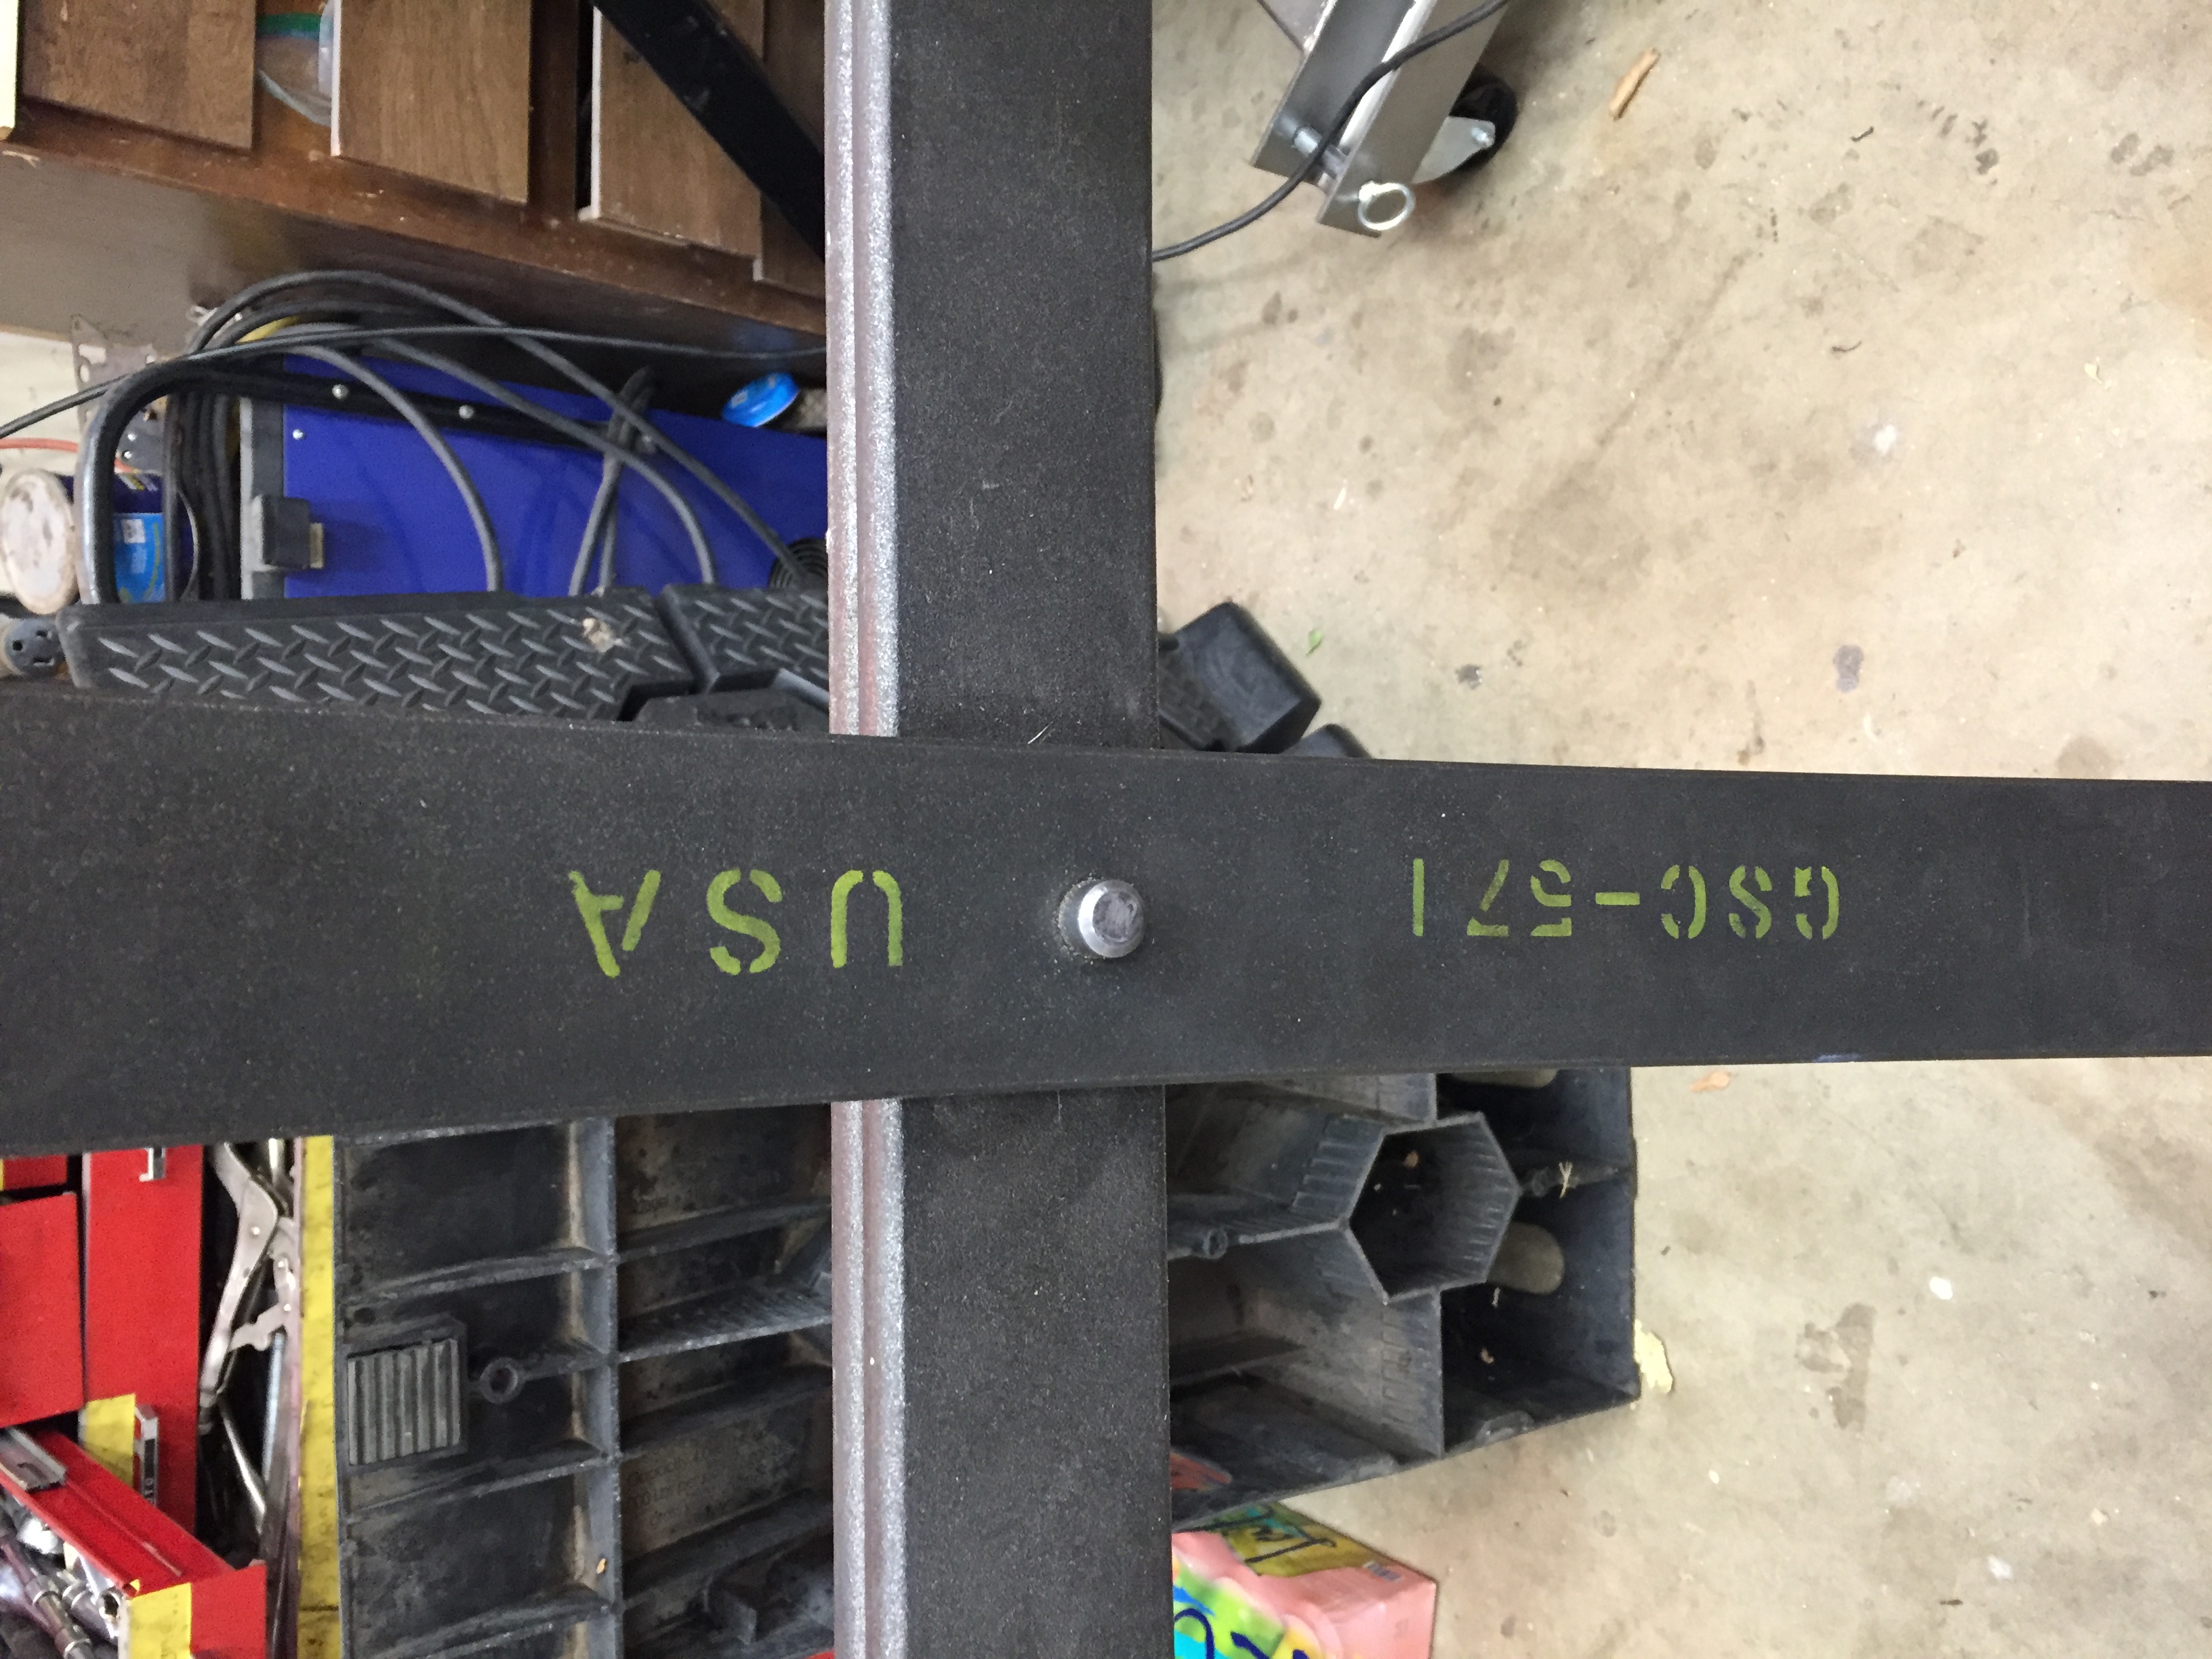
In preparation for installing the axle I sprayed the leaf springs. They were basically bare steel, or one step above it. So I prepped them by cleaning with Acetone and a microfiber rag. I had a ton of high temp rustoleum black around so I used that, hit the leaves with a bunch of coats of. Might not be the best prep or cleanup or even paint for the long term, but its gotta be better than bare and I'll its under the jeep anyway.


Sir Sam is offline   Reply With Quote
Reply

Thread Tools
Display Modes

Posting Rules
You may not post new threads
You may not post replies
You may not post attachments
You may not edit your posts

BB code is On
Smilies are On
[IMG] code is On
HTML code is Off

Forum Jump


All times are GMT -5. The time now is 01:11 AM.


Powered by vBulletin® Version 3.8.11
Copyright ©2000 - 2024, vBulletin Solutions Inc.