 |
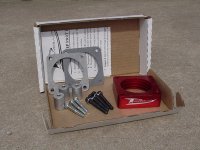
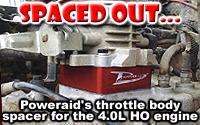
Poweraid throttle body spacer |
Installation date: 5/16/00
This was probably one of the easiest and quickest installs I’ve done. The kit is very simple and takes about 15-20 minutes to install. The only tools you’ll need are a 10mm socket wrench and an extension (I’d also recommend a can of carb cleaner and an old toothbrush). The spacer only works on the H.O. (High Output) version of the 4.0L, though, so if you’ve got a 2.5L or the older 4.0L, you’re out of luck, sorry.
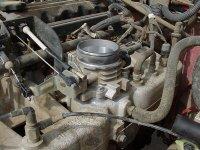
| The first thing to do is remove the plastic intake tube from the throttle body. Now is when that carb cleaner and toothbrush come in handy. If you haven’t cleaned your TB in a while, it’s probably dirty. Use the cleaner and brush to give the inside of the TB a good cleaning, don’t forget to clean both sides of the butterfly valve (are they still called butterfly valves?). Next, remove the 4 bolts that secure the TB and remove the old gasket. Give the top of the intake manifold and bottom of the TB a shot of carb cleaner to clean the mounting surfaces. |
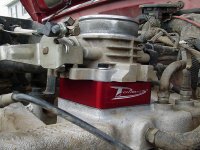
| Now insert the spacer between the TB and the intake manifold, making sure to put a new gasket on either side of the spacer. Use the supplied longer bolts to bolt the TB back down. A little more than finger tight is all the bolts need to be torqued to. |
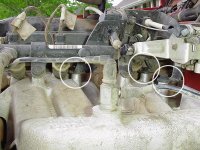
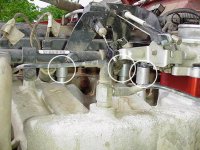
| Next step is to insert the 3 spacers under the TB linkage bracket. I’ve circled the 3 bolts you’ll need to remove to do this. You don’t need to adjust any of the cables. |
| This is what it’ll look like once you get all the spacers in. I’d recommend putting all the bolts in barely finger tight at first, so you’ve got a bit of room to make sure you get all the holes/bolts lined up right. Once you get all the bolts in, torque them down to about the same as the TB bolts: just a little more than finger tight. You’ll be able to feel/tell how much torque is enough. |
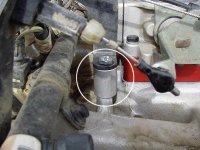
| Here’s a close-up of one of the spacers under the TB linkage bracket. Once you get all the spacers installed and bolted down, reinstall the plastic intake tube and then check the linkages for any clearance problems at open and closed positions. Shut the hood and you’re ready to go.
note: My TB spacer whistled very badly at certain rpms after I first installed it. Through a little trial-and-error I ended up rotating the spacer 90* from where I’d originally had it and also flipped it upside down. The whistle is now completely gone. |
For more information, contact:
AIRAID/POWERAID
14840 N. 74th Street
Scottsdale, AZ 85260
1-800-498-6951
Info@AIRAID.com
http://www.airaid.com/


