 |
Jeeperman TJ Swingaway |
Installation date: 12/30/06
Introduction | Installation
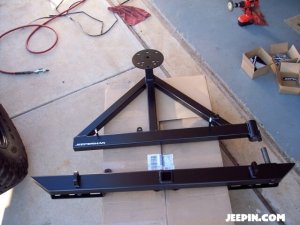
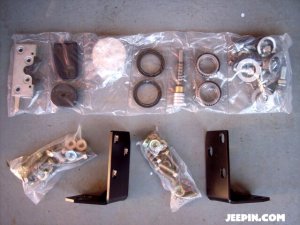
After unboxing the bumper and swingarm and laying out all the hardware, it’s time to get to work.
 |
 |
The first thing to do of course, is to remove the existing rear bumper. The factory rear bumper is held on by four 18mm nuts on the backside of the crossmember (2 on each side) and another 18mm bolt going into the bottom of the frame rail on each side. With the old bumper out of the way, it’s time to start assembling and installing the Jeeperman swingaway.
 |
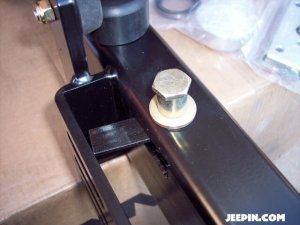 |
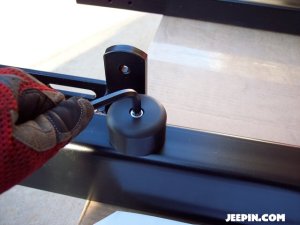
Before you go fitting the bumper to the Jeep, there’s a few things that need to be done first. Install the plastic bumper pad and rubber bumpstop using the supplied hardware, along with the striker stud. The striker stud mounts to the bumper using a nut with a welded tab on it. The nut and tab slip into a slot cut in the back of the bumper. I thought about trying to slip the tab completely into the bumper for a cleaner look, but I knew that if I dropped it, I’d never get it back out. Even with the tab sticking out nearly to the mounting bracket it wasn’t in the way of anything during the rest of the install.
 |
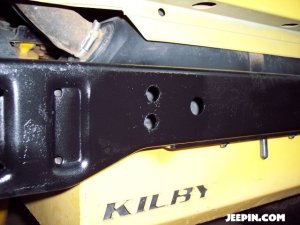 |
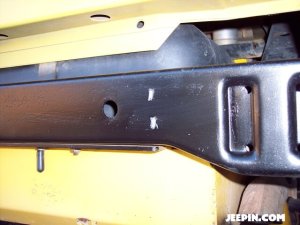
For added strength, Jeeperman’s bumper is designed to mount to the crossmember with 8 bolts, vs the stock 4. This means you’ll need to drill an additional 4 holes in the crossmember. Temporarily mount the bumper using 4 of the supplied mounting bolts in the stock locations. Here’s where it would be very helpful to have a friend around to help hold the bumper and get the bolts and nuts put in. Make sure you’ve got the bumper centered on the Jeep, then mark the 2 new holes on each side. I found that an allen wrench worked great for this due to it’s shape. Once you’ve got all 4 hole locations marked, pull the bumper back off and drill the holes using a 1/2″ drill bit. Be sure to hit the new holes with some paint to avoid rust and corrosion.
 |
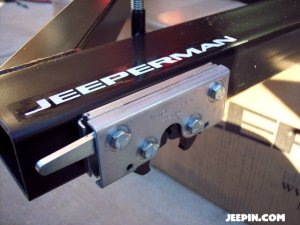 |
While my freshly-painted crossmember was drying, I got to work on the assembly of the tire carrier swing arm. The latch, which is very similar to the latch used in the TJ tail gate, mounts to the underside of the tire carrier with 4 bolts. A short socket works great for holding the nut as you get the bolt threaded into it. Once you get all 4 bolts in and tightened down pop the supplied plastic cap into the end of the swingarm.
 |
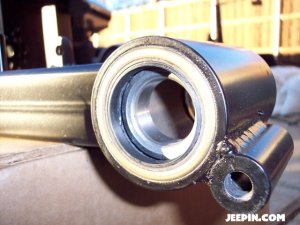 |
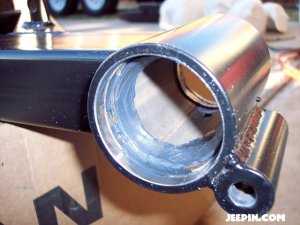
The hinge assembly is pretty simple, just grease up the races that are already pressed into the swingarm, grease up the taper bearings and put them in the races, then using a wooden or rubber mallet (or a block of wood and a hammer) tap the seals into the ends of the hinge housing until they’re flush with the housing.
 |
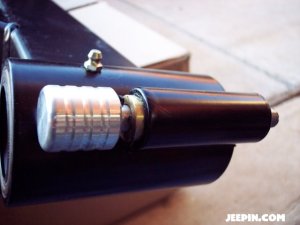 |
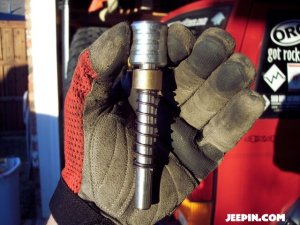
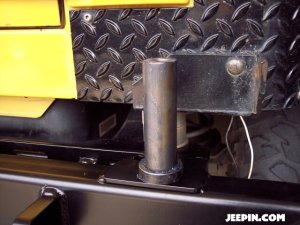
The last thing to do on the tire carrier before mounting it to the bumper is to install the auto-lock pin assembly. The billet aluminum top really gives this piece a slick look. To install it, just apply some grease to the pin and brass bushing, then slid it into the top of the small cylinder on the side of the hinge. Push the brass bushing into the cylinder, then using some snap ring pliers compress the snap ring and push it down into the cylinder until it seats into the groove near the top.
Now it’s time to mount the bumper to the Jeep, but before you do that you’ll want to install the frame tie-in brackets that come with the bumper. Oddly enough the instructions make no mention of these brackets (probably because they used to be an optional add-on), but they’re pretty straight-forward to install. The brackets are left and right-side specific, and only fit the frame one way. The brackets pick up the outer two bumper mounting bolts in the crossmember, then bolt to the frame rail using up to 3 bolts per side. The brackets match up with 2 existing holes in the frame rail on a TJ, and it’s up to you to drill the 3rd hole if you want.
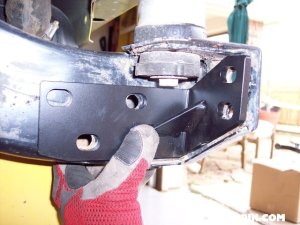 |
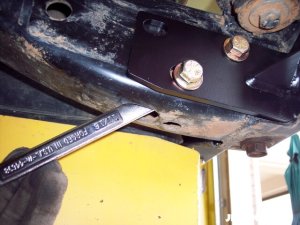 |
There’s a slot in the bottom of the frame rail that’s just perfect to let you slip a box-end wrench into the frame rail with the nuts for the mounting bolts. The tail pipe is in the way on the passenger side though, so that one gets a bit tricky. Wait to torque down the frame bolts until after you have the bumper mounted, that way you can adjust the frame brackets if needed to line up with the bumper bolts.
The bumper’s mounting brackets have 3 rows of holes which allows you to install the bumper at stock height or shifted up an inch if you’re running a body lift. Since we’re running a body lift, I opted to installed the bumper in the raised position for more clearance and because I figured it would look better with the body lift.
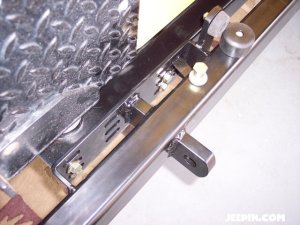 |
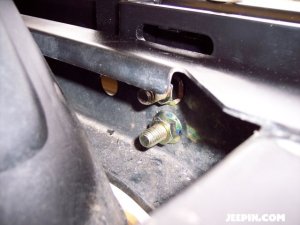 |
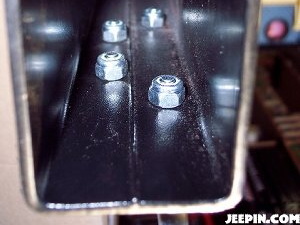
If you don’t have a body lift, you may need to lower the gas tank to reach the back of the crossmember for the 4 new mounting bolts. Even with a 2″ body lift, it was a snug fit snaking my hand back there to get the nuts on those bolts. Again, the nice thing about the mounting hardware Jeeperman uses is the nuts basically self-lock to the mounting surface, so you really only need to hold the nuts long enough to get them snug against the backside of the crossmember, they’ll take care of the rest.
 |
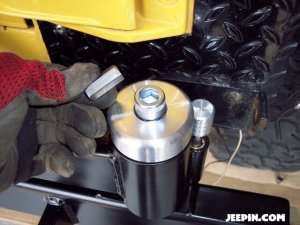 |
Now all that’s left is to actually mount the tire carrier to the bumper, install the wheel studs, and make any final needed adjustments. Take one of the steel spacers and slide it down onto the hinge shaft, then grease everything up. Slip the tire carrier down onto the hinge shaft, then install the remaining spacer on top of that. Using the supplied 1/2″ hex slug (or a 1/2″ allen wrench if you have one), install the slick-looking billet hinge top. The hinge top and spacers provide preload on the hinge bearings, so don’t tighten down the allen bolt so much that you restrict the movement of the tire carrier.
 |
 |
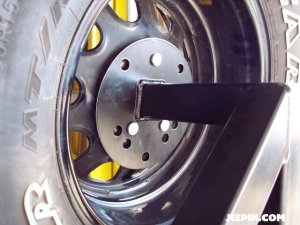
The supplied studs for the tire mount are a press-in design, basically like what you’d use on an axle shaft or hub. Start the studs by tapping them into the backside of the tire mount with a hammer, then set your spare on the tire mount and seat the studs by torquing down the lug nuts until the stud heads are flush against the back of the tire mount.
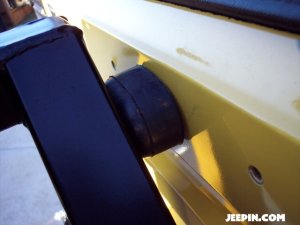
With the spare tire on the tire carrier, check clearances and the alignment of the latch and use the supplied hinge shims to make any needed adjustments (our swingaway required no additional adjustments). Reinstall one of the factory rubber tire bumpstops at the top center hole in the tailgate and make sure it puts some pressure on the backside of the tire carrier when it’s fully shut. If needed, shim the bumpstop out with the supplied shims, or shave it down a bit using a utility knife.
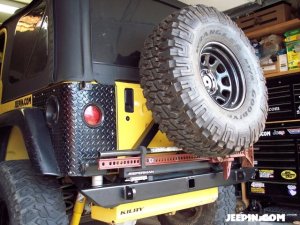
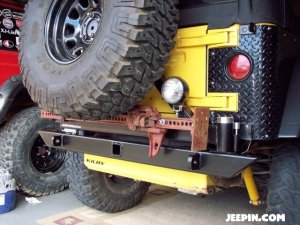
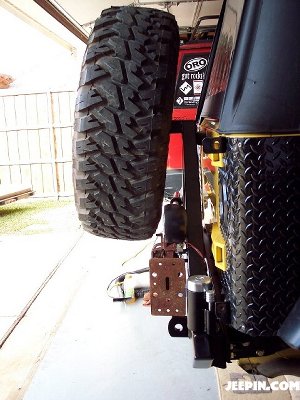
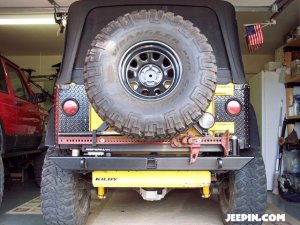
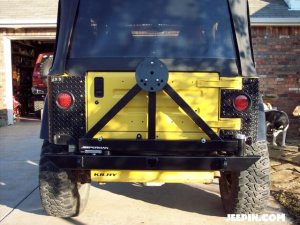
Here’s a few shots of the final product. For more photos from the install, check out our install photo album.
 |
 |
 |
 |
 |
You can get Jeeperman products through our very own JeepinOutfitters.com.
For more information contact:
3 comments
3 Comments so far


Hey Jeeperman, I’ve built my swing away bumper, but cannot find a latch, for a quick release. I currently have a bolt with a handle welded, but it takes to long and sometimes hard to remove. Do you have a latch only for sale, or know where I can find one
Thanks Bob
Is there a swing away carrier that I can install (drill, weld)on to a factory rear bumper for a 2001 TJ?
do make a rear bumper for a 94 yj