 |
JB Conversions Super Short SYE kit |
The installation is pretty straight forward, and nearly identical to JB Conversions’ regular HD SYE kit. The instructions that come with the kit are very good and include photos (not drawings), and they can also be found on JB Conversions’ website.
The install can be done with the transfercase on or off the vehicle. The instructions show the installation being done with the transfercase removed, however I feel it’s quicker and easier (overall) to simply leave the transfercase bolted up and do the install that way. Either way you do it, the first orders of business are to remove the crossmember, drain the t’case, and remove the front and rear driveshafts. Using a floor jack (or jackstand) and a block of wood, support the transmission so that when you remove the crossmember, the whole drivetrain isn’t’t hanging from the motor mounts. Now you can unbolt the tranny mount from the crossmember and then unbolt the crossmember from the frame and set it aside.
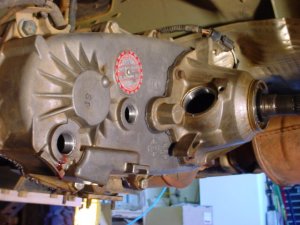
To drain the t’case, remove the upper fill plug (10mm allen head for late model NP231s), then remove the lower drain plug and let all the fluid drain into a catch pan. You’ll probably want to remove the front and rear driveshafts before you start draining the t’case though, that way you’re not trying to work on the driveshafts while there’s a stream of ATF draining out next to you. Depending on what year your rig is, you’ll either have to remove a dust shield from the tail housing on the t’case, or you’ll have to pull a harmonic balancer (big metal donut thing) off the rear output shaft. Our 2000 TJ had the harmonic balancer, and I had to use a large 3-jaw gear puller to get it off. You’ll also need to remove the speedometer sensor from the tail housing on the t’case as well.
 |
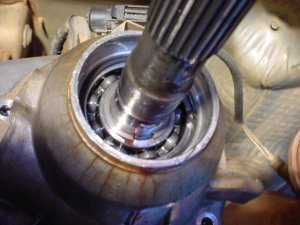 |
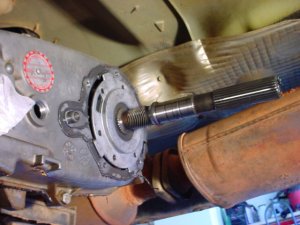
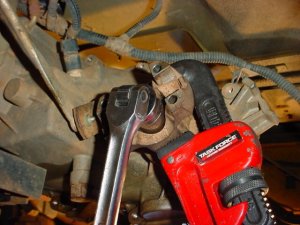
Next remove the oil seal from the end of the tail housing and remove the lockring behind it from the output shaft. Now you can unbolt the tail housing and pull it off the back of the transfercase. You’ll also need to unbolt and remove the yoke from the front output shaft. I’ve found a large pipe wrench works great for holding the yoke while you loosen the nut. It’s on there pretty good, so you’ll need a decent-sized impact wrench or a breaker bar to get it loose.
 |
 |
The transfercase is now ready to be split in half. You’ll need to remove all the bolts holding the two halves of the transfercase together. One of the bolts along the top has a 12-point 10mm, so make sure you’ve got one of those sockets on hand before you start all this. With all the bolts out, pry the two halves apart a bit (a big strong flat-head screw driver is good for this) and let any remaining fluid drain out. The oil pump housing, pick-up tube, and filter should all come out with the back half of the t’case housing. There’s a flat magnet disc in the bottom of the t’case that may come out with the back half as well, or it may stay in the front half, or it could simply fall right into your catch pan… so keep an eye out for it. Watch out for the spring on the shift rail as well, it likes to hop off and roll under things, like tool chests… Now just grab the front and rear output shafts and pull the whole assembly out of the transfercase.
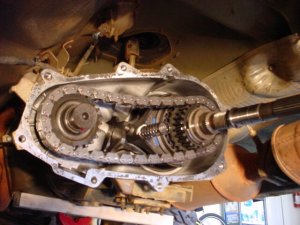 |
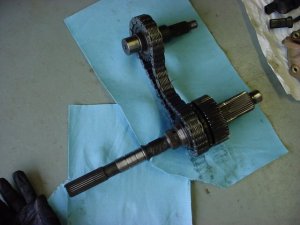 |
Now comes the hardest part of the whole install: swapping the hub and sprocket assembly onto the new rear output shaft. I say this is the hardest part of the install because there’s a large lockring that holds the assembly on the output shaft, and it takes a really big set of lockring pliers (not SNAPring pliers) to get it off. Even my nifty new Stanley Pro parallel jaw lockring pliers weren’t quite big enough to make easy work of this lockring. You really need a set of lockring pliers that opens at least 1 1/8” wide to make life easy on this. I did discover this time though, that the tail housings make great little “work stands” to hold the output shafts while you work on swapping the hub assembly. Make sure you don’t swap the hub assembly onto the new output shaft upside down.
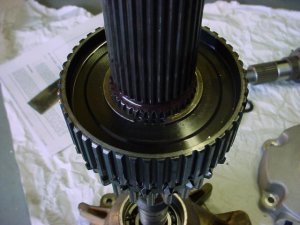 |
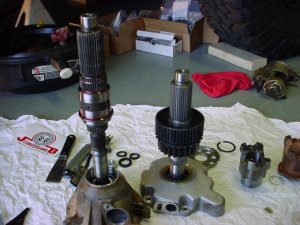 |
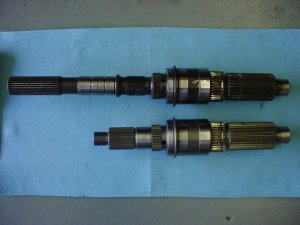
Here you can see the difference in the length (and beefiness) between the factory output shaft and the new SuperShorty output shaft. I didn’t feel like pulling apart the SYE kit on my XJ to compare the Shorty shaft’s length to JB’s regular SYE output shaft, so you’ll just have to check out the photos on JB Conversion’s website for that.
 |
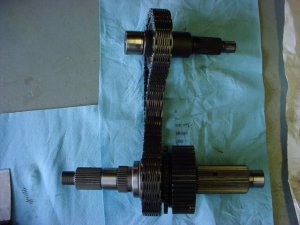 |
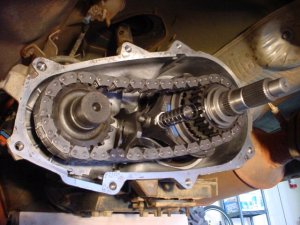
Before you put everything back into the t’case, use a gasket scraper or wire brush to remove as much of the old gasket material as you can from both halves of the transfer case. Once that’s all cleaned up and with the hub assembly secured on the new output shaft, put the unit back together with the chain and front output shaft, and put everything back into the front half of the t’case. Make sure everything is seated as far forward as possible.
 |
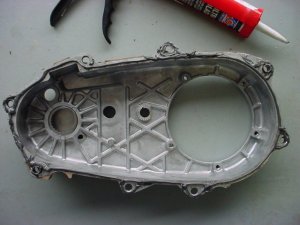 |
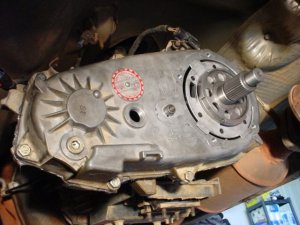
Run a bead of silicon gasket maker around the mounting surface of one half of the transfercase (I like Permatex black RTV gasket maker myself), reposition the oil pump and pick-up assembly in the back half of the t’case, and put everything back together again.
 |
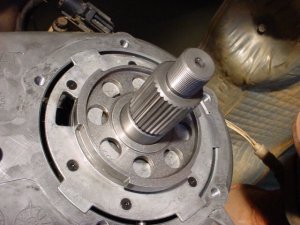 |
Getting the oil pump housing onto the new output shaft can be a bit tricky (it’s a snug fit on the splines), so be sure that the pick-up tube is still seated in the bottom of the pump housing once you’ve got everything back together.
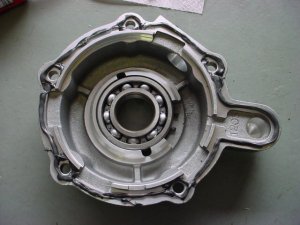
Next slide the tone ring onto the output shaft, “deep dish out” as shown in the photo above. Run another bead of silicon around the mounting surface of the new tail housing and bolt it in place reusing the OEM bolts from the original tail housing.
 |
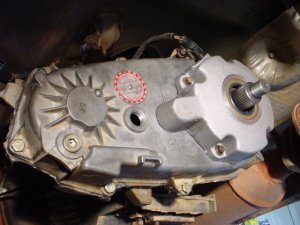 |
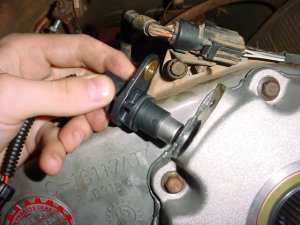
All that’s really left now is to install the speedometer sensor using the supplied bolt, bolt the front yoke back on, and bolt the new rear yoke on. JB Conversions includes new rubber star washers to go on under the pinion nuts, and they also recommend applying a small amount of silicon to the back side and threads of the rear pinion nut, to help make sure there are no leaks.
 |
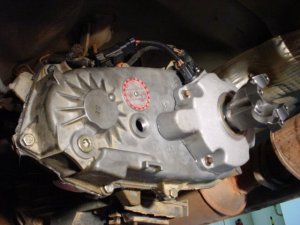 |
The speedometer tone ring get sandwiched between the output shaft and the bearing in the tail housing, so it’s very important that you torque the rear pinion nut to the 180ft-lbs specified in the instructions. If you don’t do this, your speedometer could act funny and not read properly all the time. The new speedometer sensor just plugs right into your existing wiring harness, so there’s no splicing wires or anything. Don’t forget to refill the transfercase with ATF fluid before you decide to take it for a spin around the block.
Comments are off for this post


