 |
CSF 3-core TJ Radiator Install |
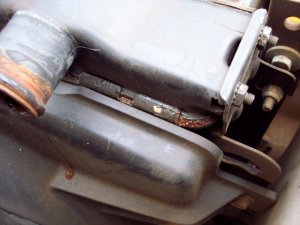
We’d never had any cooling problems with the TJ, so it wasn’t until the top tank of the radiator actually started leaking that I realized there was a problem. The upper and lower tanks on the TJ radiator are plastic and are clamped onto the metal radiator, and as a result they’re notorious for leaking at the seams once the Jeep nears 30K miles. If you frequent online discussion forums for TJs you probably already know about the issue with the plastic tanks, so I wasn’t too surprised when our started leaking… what did surprise me though was what I saw leaking out.
 |
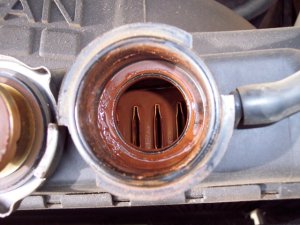 definitely NOT what you want to see when you pop the radiator cap. |
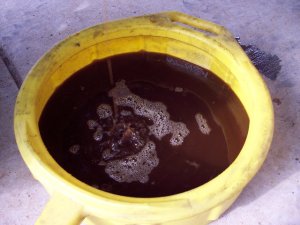
Since our TJ had yet to roll 30k on the ticker I really hadn’t given the radiator and coolant much thought… but apparently age had taken its toll and the 5 year old coolant had started to corrode the innards of the radiator (at least I hope the rust was from the radiator).
 |
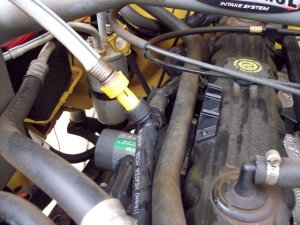 |
After draining the now brown coolant out it was time to flush the motor. I used used a Prestone t-fitting flush kit, but instead of permanently mounting the t-fitting in the heater hose, I got a new section of heater hose and just temporarily plumbed in the new fitting and section of hose for the flush then took it out when I was done.
Based on reputation and recommendations, I opted to go with a 3-core radiator by CSF. A quick call to our friend Dirk at DPG OffRoad had a shiny new CSF on its way to us.
 |
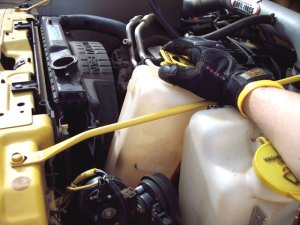 |
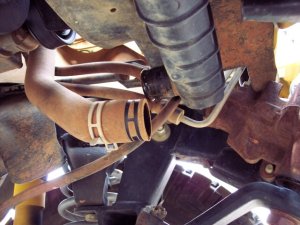
With the nastiness flushed out I could set about installing the new radiator. To start with disconnect the upper and lower radiator hoses (more fluid will probably drain out that lower hose, so watch out) and pop the overflow tank off the fan shroud.
 |
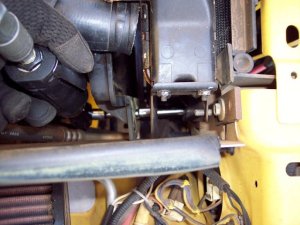 |
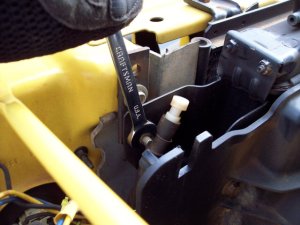
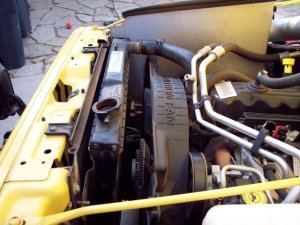
Then unbolt the fan shroud from the radiator using a 7/16″ wrench and push the shroud back over the fan. With the help of some socket extensions, remove the 7/16″ bolts that hold the radiator to the body. Air tools are handy here, but my camera didn’t want to fully cooperate on where to focus.
 |
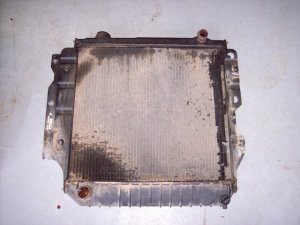 |
You can see where the top tank had been leaking down the right side of the radiator.
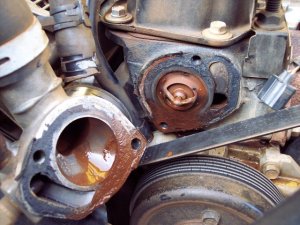
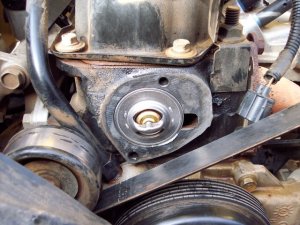
While I was working on the cooling system, I figured I’d go ahead and change the thermostat for good measure. It was a good thing too, looks like some gunk was hiding up in there as well (apparently the flush hadn’t gotten everything out).
 |
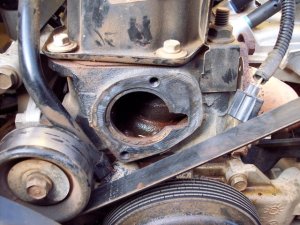 |
After some cleaning and scraping, the motor was clean and the new thermostat was in place. You’ll want to have a good, sharp scraper, and take care not to get debris in the motor. I like to use a little dab of RTV to hold the thermostat in place, it makes life a bit easier when you go to put the housing back on.
 |
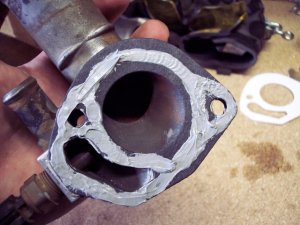 |
You’ll want to make sure you’ve got a new thermostat housing gasket on hand, they usually run about $2 or less from most local auto parts stores. To help make sure I had no leaks, I smeared some RTV gasket maker on there too.
 |
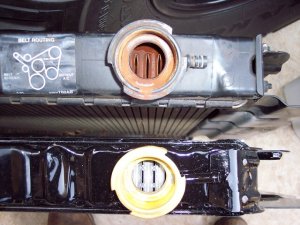 Unlike with XJ radiators, you can see the cores on a TJ radiator. |
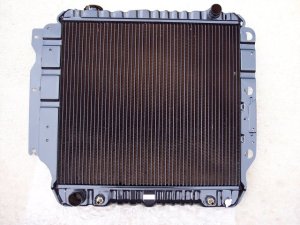
So here’s the new 3-core radiator from CSF. One of the nice things about the CSF unit is that the tanks on the top and bottom are metal and are fully bonded to the radiator, unlike the clamped-on plastic tanks of the stock radiator. The fittings on the bottom are used if you’ve got an automatic transmission.
 |
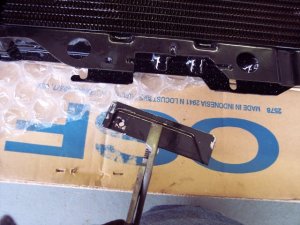 |
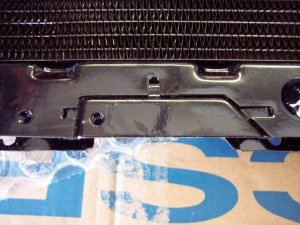
If you’ve got AC, you’ll need to pull a plate out of the right side of the CSF radiator.
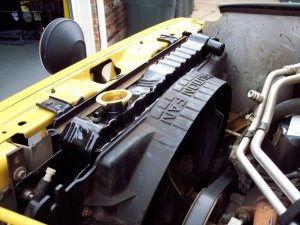
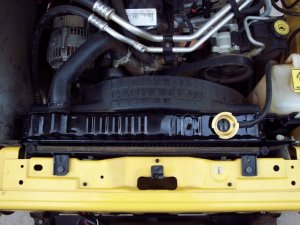
Bolt the radiator back on the body, bolt the fan shroud to the radiator, connect the hoses back to the radiator, snap the overflow bottle back onto the fan shroud, fill ‘er up, and you should be ready to go!
 |
 |
I actually did this install back in December of 2005, and the CSF radiator has been working just great ever since. No signs of corrosion, leaking, or coolant gunk, and engine temps stay right where they shoud be. If you’re in the market for a new radiator for your TJ, or any Jeep for that matter, I’d highly recommend a 3-core unit from CSF. In fact, when the GDI radiator in our XJ died half-way up a trail during a wheeling trip in November 2006, we replaced it with a 3-core CSF as well (ordered it from Dirk right there on the trail, haha!).
The complete photo album from the install is at http://jeepin.net/fotos/installs/csf
Sources:
DPG OffRoad
Rose Hill, KS
316-776-9900
http://www.dpgoffroad.com


