Installation date: 10/16/99
Installation:
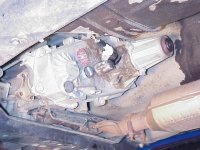 |
The first things to do are to remove the front and rear driveshafts. You’ll need an 8mm socket to do this. Now remove the front yoke from the t’case (be careful, the nut is on very tight, airtools would definitely be good here). The JB kit comes with new rubber washer/seals, so don’t worry if yours gets mangled getting the yoke off (mine did). You may need to pry on the u-joints a bit to get them to separate from the yokes. Also, when you remove the rear driveshaft, there will be some gear lube in the driveshaft yoke, so watch out, you don’t want to pour it out on your head. 😉 |
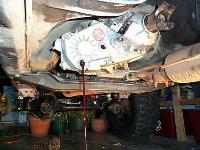
| Next drain the oil from the t’case. Removing the upper fill plug allows the oil to drain out much faster, and besides, you have to remove the fill plug anyway. |
 |
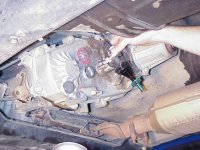 |
Next unbolt and remove the speedometer gear housing. Then unplug the housing from the speedo cable and set the housing aside.
Important: Make a note of the exact position/rotation of the gear housing, you will need this for reference when you reinstall the speedo gear housing. There are number ranges on the housing, write down which number range is facing down. |
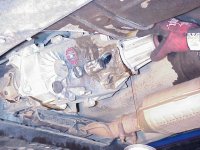
| Now unbolt the tail extension housing and pry it from the rear of the t’case. As you can see, there will be oil in the extension housing… |
 |
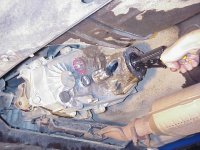 |
Now you’ll have to remove the lockring from the output shaft so you can remove the tail housing bearing carrier. This is where that pair of lockring pliers comes in. It’s possible to use external-snapring pliers, but lockring pliers make the job much easier and less frustrating. |
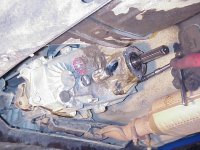
| Next unbolt the rear bearing carrier and pry it from the back half of the t’case. There are six 15mm bolts holding the carrier on. You’ll have to use a socket extension to get to some of the bolts if you’ve left the t’case on your rig. These bolts will be replaced with metric hex-bolts supplied in the JB kit. |
 |
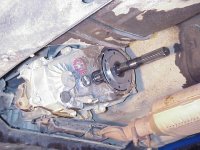 |
This is what the t’case will look like after removing the rear bearing carrier. That plate on the output shaft is part of the infamous NP231 oil “pump”. At this point it’s a good time to check the clearance between the shift rail (that rod sticking out of the middle of the t’case) and the new JB bearing carrier. Shift the t’case into 4LO so that the shift rail is extended out as far as it will go. Place the JB carrier on the rear of the t’case and see if the shift rail hits. If it does (mine didn’t) you’ll need to grind/cut the tip off the rail. The JB instructions go into this in more detail and also explain what to do if you’ve got a vaccuum-disconnect front axle. |
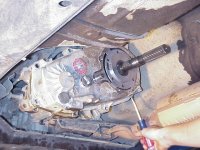
| Now remove all the bolts holding the two halves of the t’case together. The top-most bolt is a 10mm 12-point bolt, so be sure to have the correct socket handy. Also, that bolt has a nut on the back of it that holds a bracket that holds the speedo cable (all the other bolts are threaded into the t’case itself). Next, using a flathead screw driver, gently (remember, it’s made of aluminum) pry the two halves of the t’case apart at the appropriate locations (there are indentions are either side). The oil pump assembly will come off/out with the back half of the t’case. |
 |
Now for the fun part…
Pages: 1 2 3 4


[…] http://www.yuccaman.com/jeep/porc_sye.html http://www.links4jeeps.com/writeups/231sye/3.php http://jeepin.com/features/sye And as the others before said, there's no putting a body lift on an XJ, unless you cut the body […]
[…] http://www.yuccaman.com/jeep/porc_sye.html http://www.links4jeeps.com/writeups/231sye/3.php http://jeepin.com/features/sye It isn't too complicated. Just pay attention to where everything goes. Don't lose the o-ring that […]
[…] http://www.yuccaman.com/jeep/porc_sye.html http://www.links4jeeps.com/writeups/231sye/3.php http://jeepin.com/features/sye The rest wasn't too complicated. Took me several hours, but I was taking my time trying to be […]